Seed Selection Criteria
Choosing Quality Genetics
Selecting strong genetics sets the tone for success. Begin by researching strains that suit your environment and goals. Look for traits like vigor, disease resistance, and yield potential. A robust genetic line can handle minor mistakes and still thrive.
Next, focus on strain stability rather than novelty. Stable strains deliver consistent results, batch after batch. Read grower reports and compare flowering times. This attention to detail gives you confidence when you plant your seeds.
Recommended Strains
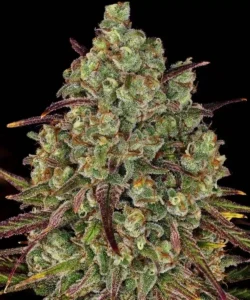
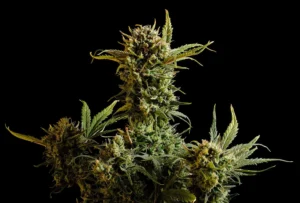
Tangerine Dream
|
|
THC | 22% - 23% (Medium) |
|
|
Lineage | G13 x Afghan x Neville’s A5 Haze |
|
|
Type | Feminized |
|
|
Height | 4.43 ft | 1.35 m |
|
|
Yield Outdoor | 28.22 oz/plant | 800 g/plant |
|
|
Flowering Time | 8 - 9 weeks |
|
|
Phenotype | 40% Indica / 60% Sativa |
|
|
Effects | Relaxed, Focused, Euphoric, Hungry |
|
|
Flavors | Orange, Berry, Citrus, Sweet, Tropical |

Lemon Skunk
|
|
THC | 23% - 25% (High) |
|
|
Lineage | Skunk x Citral |
|
|
Type | Feminized |
|
|
Height | 5.09 ft | 1.55 m |
|
|
Yield | High |
|
|
Yield Indoor | 2.62 oz/ft² | 800 g/m² |
|
|
Flowering Time | 8 - 9 weeks |
|
|
Phenotype | 50% Indica / 50% Sativa |
|
|
Effects | Relaxed, Calming |
|
|
Flavors | Earthy, Citrus, Sweet |
Checking Viability and Freshness
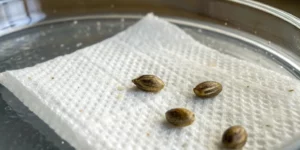
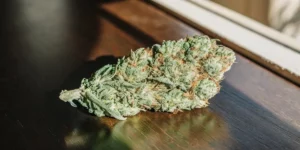
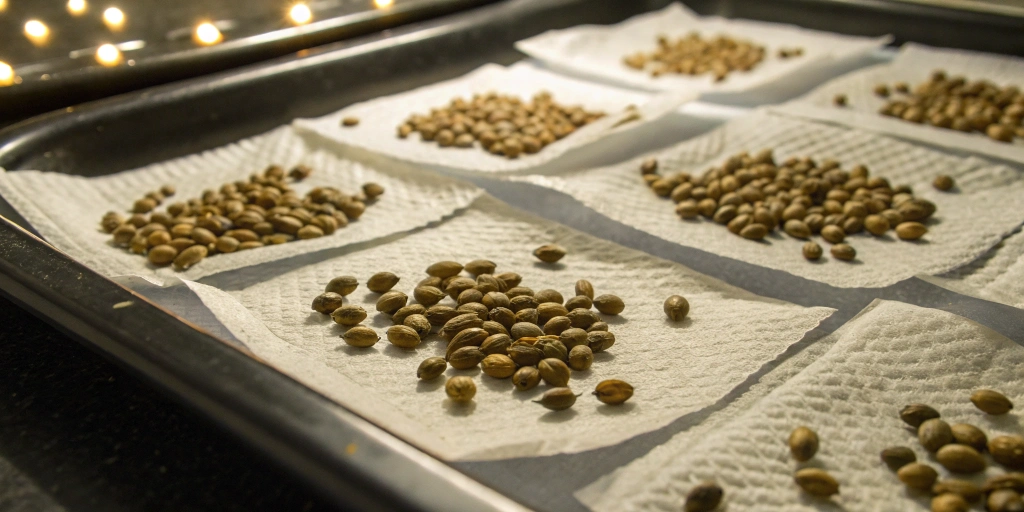
Inspect seeds for a hard shell and marbled coloration. Healthy seeds often show light brown or gray patterns. Avoid pale, green, or cracked specimens; they lack the energy to sprout successfully.
After visual checks, perform a simple hydration test. Place seeds in a damp cloth and watch for slight swelling. Viable seeds will absorb moisture and darken in 24 hours. This quick method separates winners from losers before you invest time and space.
Sourcing from Reputable Suppliers
Trustworthy suppliers build reputations on germination guarantees and transparent practices. Check online reviews and grower forums for feedback on germ rates. Reliable seed banks also share lab test results to confirm genetics and purity, helping when starting cannabis seeds with confidence.
Finally, confirm shipping policies and germination warranties. A reputable vendor responds promptly to questions. They often replace faulty seeds or offer refunds. Picking a solid partner minimizes risk and maximizes your planting success.
Pre-Germination Preparation
Hydration Techniques
Proper hydration kickstarts the germination process. Begin by soaking seeds in filtered water for 12 to 24 hours. This gentle soak helps soften the shell and jumpstarts internal enzymes. Avoid soaking beyond 24 hours to prevent seeds from drowning.
Next, consider adding a trace amount of compost tea or seaweed extract. These natural hydrators supply beneficial microbes and nutrients. They encourage vigorous root development while still in the pre-germination phase. Your seedlings will thank you with stronger early growth.
Temperature and Light Setup
Maintain a warmth of 21–24 °C to encourage consistent sprouting. Place seeds on a heated propagator mat or a warm shelf. Keep ambient temperature stable by avoiding drafts or direct air vents. Consistency breeds reliable germination rates.
Light exposure matters too. Use a gentle, indirect light source for 18 hours each day. Fluorescent or LED grow lights at a safe distance work well. These conditions mimic the early signs of spring, helping seedlings prepare for robust development.
Sterile Environment Tips
Cleanliness prevents harmful pathogens from attacking tender radicles. Sanitize all containers and tools with a mild bleach solution or rubbing alcohol. Rinse thoroughly before use to avoid chemical residue that may harm seeds.
Work on a sanitized surface and wash your hands before handling seeds. Use new or sterilized growing media to reduce microbial load. These steps create a safe zone for seeds to germinate with minimal risk of contamination.
Germination Methods
Paper Towel Approach
The paper towel method offers clear visibility of early roots. Lay two damp paper towels on a flat plate or tray. Place seeds between the layers, spacing them 2–3 cm apart to prevent tangled roots. Cover with another damp towel and seal with plastic wrap.
Check towels daily and maintain moisture. Gently mist with water if they start to dry. Within 2–7 days, you should see tiny taproots emerge. Handle roots with tweezers or clean fingers and plant immediately to avoid damage, ensuring a smooth transition to soil.
Direct Soil Planting
Planting directly in soil reduces transplant shock. Fill small pots with a light, airy mix rich in organic matter. Create a 1 cm deep hole, place the seed horizontally, and gently cover with soil. Water the surface until evenly moist.
Keep pots in a warm, humid environment and avoid direct harsh light until sprouts appear. This method uses minimal handling and allows roots to grow freely. Transplant only when seedlings develop true leaves, preserving root integrity and boosting survival rates.
Soaking in Water
Soaking seeds in pure water softens the shell and accelerates germination. Place seeds in a glass of room-temperature water for 12 hours. You’ll see viable seeds sink slowly, while floaters often lack viability.
After soaking, transfer seeds to a damp paper towel or soil. Avoid extended soaking to prevent rot. This simple step can cut germination time by a day or two and give you a head start on the growing cycle.
Early Seedling Care
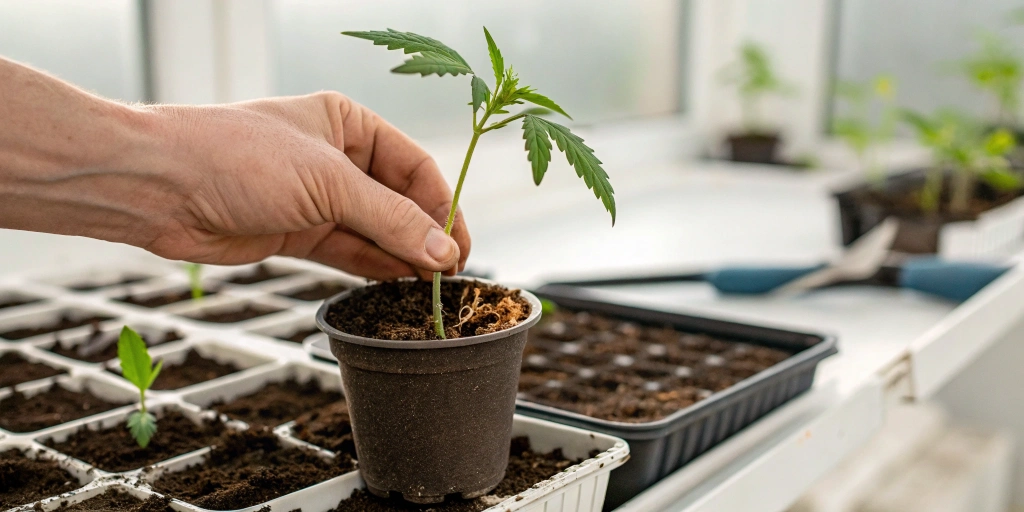
Transferring Sprouts Safely
When radicles reach 1–2 cm, transfer sprouts into growing medium. Use a small dibber or pencil to make a planting hole. Gently place the root downwards, ensuring the seed shell sits just below the surface. Cover lightly and press soil to secure.
Avoid deep planting, which can suffocate young roots. Keep the soil barely moist and avoid heavy watering. A gentle mist triggers upward growth of the shoot without dislodging the seed or shocking the fragile radicle.
Ideal Humidity Levels
Seedlings thrive in high humidity during their first week. Aim for 65–75 percent relative humidity. Use a humidity dome or plastic cover to trap moisture without touching leaves. Good airflow beneath the dome prevents mold and fungal issues.
After the first true leaves appear, gradually reduce humidity by cracking the dome open for longer periods. This hardens plants and prepares them for lower humidity in later stages. Controlled reduction strengthens leaf tissue and guards against future stress.
Initial Nutrient Solutions
Young seedlings only require mild nutrient support. Begin with a quarter-strength fertilizer formulated for seedlings. Apply a light solution once the first true leaves appear. Overfeeding at this stage can cause nutrient burn and stunt growth.
Monitor leaf color and turgor to gauge health. If leaves yellow or curl, switch to plain water until recovery. Light feeding encourages root and leaf development without overwhelming the plant’s early system.
Preventing Common Issues
Damping-Off Prevention
Damping-off fungi attack tender seedlings and cause stems to collapse. Keep soil moist but not waterlogged, and ensure good drainage. Use sterile growing media and avoid overcrowding trays or pots.
Maintain airflow around seedlings with a small fan. This gentle breeze strengthens stems and discourages fungal growth. If you spot slimy or discolored stems, remove affected seedlings immediately to protect the rest.
Root Rot Avoidance
Root rot thrives in dark, soggy conditions and leads to wilting. Use a well-draining medium with perlite or vermiculite to keep roots oxygenated. Water only when the top layer of soil feels dry to the touch.
Inspect roots if growth stalls; healthy roots appear white and firm. Brown or mushy roots indicate rot. Infected seedlings need fresh pots and media. Prevention remains easier than cure, so avoid excess moisture from the start.
Monitoring pH Levels
Keeping pH in the ideal range ensures nutrient uptake. For soil, maintain pH between 6.0 and 7.0; for other media, aim for 5.5 to 6.5. Use a reliable pH meter or test kit to check water and runoff weekly.
Adjust pH with organic acids or pH up/down solutions as needed. Record readings to spot trends. Consistency prevents lockouts and keeps plants feeding efficiently from their earliest stages.
FAQs about starting cannabis seeds
How long do seeds typically take to sprout?
Most cannabis seeds sprout in two to seven days when you maintain warmth and moisture. Variations occur based on genetics and environmental conditions. Keeping consistent temperature and humidity helps ensure sprouts appear on the shorter end of that range.
Can I reuse leftover seeds from a previous harvest?
You can plant leftover seeds if you stored them properly in a cool, dark, and dry place. Note that age and storage conditions affect germination rates. Run a simple float or hydration test first to confirm viability before planting.
What’s the best medium for consistent germination?
Light, well-aerated growing mixes rich in organic matter work best. Combine peat or coco coir with perlite for drainage and moisture retention. This balance supports steady moisture without waterlogging, giving radicles room to spread out.