The flowering stage of cannabis week by week is an exciting journey. This phase transforms your plants from simple greenery into beautiful, aromatic buds. For both newbies and seasoned cultivators, this stage is a critical part of the cannabis lifecycle. Each week brings noticeable growth and requires careful attention.
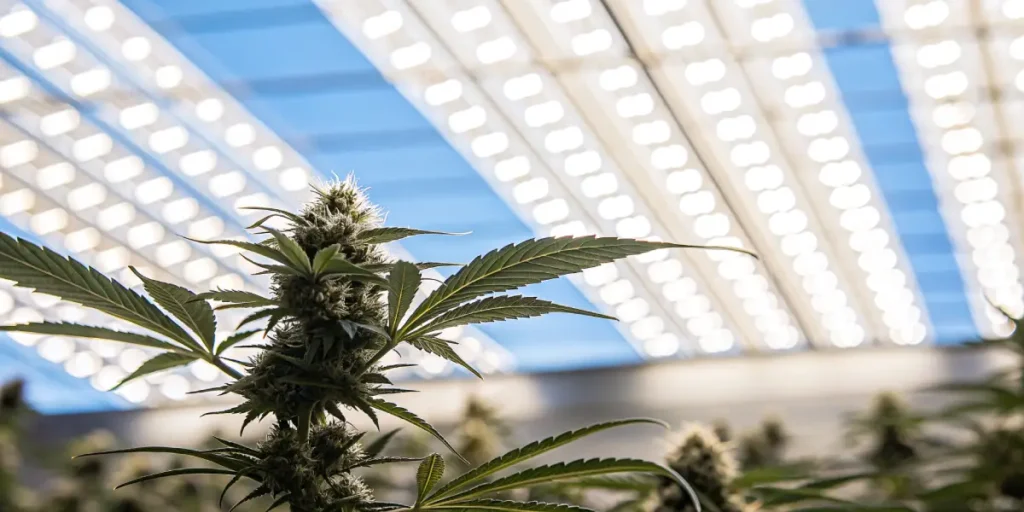
During the flowering stage, plants focus their energy on producing buds. This phase usually starts when light cycles shift to 12 hours of light and 12 hours of darkness. The cannabis flowering stage timeline week by week varies slightly depending on the strain. It’s essential to observe your plants closely and adjust care routines as needed.
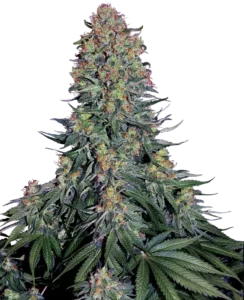
Recommended Strains
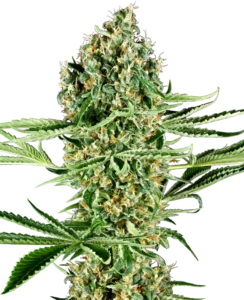
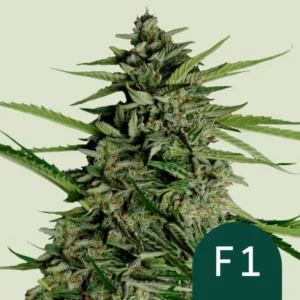
Critical Runtz
|
|
THC | 22% - 24% (Medium) |
|
|
Lineage | Critical x Runtz |
|
|
Type | Feminized |
|
|
Height | 5.74 ft | 1.75 m |
|
|
Yield | Medium |
|
|
Yield Indoor | 1.31 - 1.8 oz/ft² | 400 - 550 g/m² |
|
|
Flowering Time | 8 - 9 weeks |
|
|
Phenotype | 70% Indica / 30% Sativa |
|
|
Effects | Euphoric, Energetic, Relaxed |
|
|
Flavors | Sweet, Citrus, Berry, Tropical |
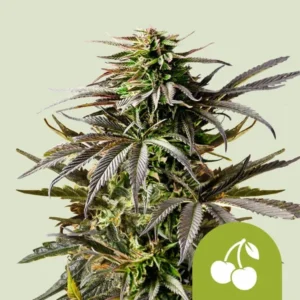
Blue Skunk
|
|
THC | 17% - 24% (Medium) |
|
|
Lineage | Blueberry x Skunk 1 |
|
|
Type | Feminized |
|
|
Height | 6.56 ft | 2 m |
|
|
Yield | Medium |
|
|
Yield Indoor | 1.31 - 1.8 oz/ft² | 400 - 550 g/m² |
|
|
Flowering Time | 7 - 9 weeks |
|
|
Phenotype | 80% Indica / 20% Sativa |
|
|
Effects | Relaxed, Euphoric, Giggly |
|
|
Flavors | Skunk, Blueberry, Pungent |
For those eager to see their plants thrive, selecting the right strains is crucial. Consider strains like White Widow, Blue Dream, and GG4 from Global Green Genetics. These varieties are known for their resilience and impressive yields during the flowering stage. They provide a great starting point for observing the flowering stage of cannabis week by week.
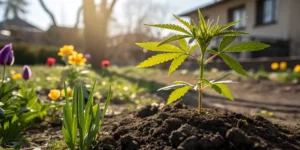
Week 1: Transition to Flowering
Week one marks the beginning of the flowering stage. You’ll notice your plants stretching as they transition from vegetative growth. This period is often called the “pre-flowering” stage. Plants may grow taller as they prepare to support the weight of the forthcoming buds.
During this time, it’s vital to maintain a balanced nutrient supply. Focus on phosphorus and potassium, which support bud growth. Avoid over-fertilizing, as this can lead to nutrient burn. Keep an eye out for any signs of stress, such as yellowing leaves or wilting, and adjust your approach accordingly.
The cannabis plant flowering week by week growth is an intricate process that requires close observation. The initial stages set the foundation for the weeks to come. By maintaining optimal conditions in the first week, you can ensure robust development as the flowering stage progresses.
It’s also important to establish consistent watering practices early on. Overwatering can lead to root problems, while underwatering may stunt growth. Finding the right balance will help your plants transition smoothly into the following weeks of the cannabis flowering stages week by week pictures.
Real-Life Example: White Widow
White Widow is known for its vigorous growth during the first week of flowering. This strain can stretch significantly, so ensure you have enough vertical space in your grow area. It’s a reliable choice for observing detailed cannabis flowering stages by week.
Keep your feeding schedule consistent, and monitor the plant’s response to any changes. White Widow tends to be forgiving, making it ideal for first-time growers. Its resilience during the early flowering stage allows for a smoother transition into the later weeks.
White Widow’s adaptability makes it an excellent candidate for those following a week by week flowering cannabis guide. Its ability to handle variations in light and nutrients without significant setbacks is a major advantage for cultivators seeking consistent results.
As the cannabis flowering stage timeline week by week unfolds, White Widow provides a clear example of how to manage the typical challenges that arise. Its performance in the early stages can serve as a benchmark for evaluating other strains’ progress.
Week 2: Bud Development Begins
In the second week, small buds start to form. The plant’s energy shifts from growing leaves to developing flowers. This is a crucial stage in the cannabis flowering stage timeline week by week.
You’ll notice changes in the plant’s aroma as terpenes begin to develop. This fragrance is a sign of healthy growth. Managing humidity and airflow is crucial to prevent mold and pests during this stage.
During this phase, the cannabis plant flowering week by week growth becomes more apparent. The visible changes in bud formation are accompanied by internal shifts as the plant reallocates resources towards reproductive development.
Maintaining a consistent environment is crucial as the cannabis flowering stages week by week pictures start to show buds taking shape. This is the time to fine-tune your growing conditions to support optimal flower production.
Real-Life Example: Blue Dream
Blue Dream is a popular choice for its balanced growth and high yield. In week two, this strain typically shows significant bud development. It provides an excellent opportunity to observe cannabis flowering stages week by week pictures.
Monitor the plant for any nutrient deficiencies. Blue Dream responds well to a balanced diet with a slight increase in phosphorus and potassium. Pay attention to leaf color and texture as indicators of plant health.
Blue Dream’s reputation for consistent performance makes it a staple in many gardens. As you follow the cannabis flowering stage timeline week by week, this strain’s predictable growth patterns offer reassurance to cultivators.
Implementing pruning techniques early with Blue Dream can enhance light penetration and airflow, crucial for the detailed cannabis flowering stages by week. This proactive approach supports the plant’s natural tendency to produce dense, resinous flowers.
Week 3: Buds Start to Bulk Up
During week three, buds begin to thicken. This stage is often referred to as “flowering” proper, as rapid changes become more evident. Keeping a close eye on the plant’s environment is crucial.
Regularly check for pests, as they can damage developing buds. Adjust your feeding schedule to support continued growth. It’s also a good time to assess your plant’s overall health and make any necessary adjustments.
As the cannabis flowering stage timeline week by week progresses, you’ll notice a marked increase in bud mass and density. This is a pivotal point where careful attention to detail can significantly impact final yields.
Environmental stability remains key as the cannabis flowering stages week by week pictures reflect substantial progress. Ensuring that your plants receive adequate nutrients and protection from pests will support their natural growth trajectory.
Real-Life Example: GG4
GG4 is renowned for its dense, resinous buds. By week three, you’ll see a noticeable increase in bud size. This strain thrives with consistent care and attention to detail.
Keep a close watch on humidity levels. GG’s dense buds are susceptible to mold if conditions are too humid. Maintaining optimal airflow helps prevent these issues.
Incorporating slight adjustments to your nutrient regimen can have profound effects on GG’s development. This strain’s response to the cannabis flowering stage timeline week by week showcases its potential for high-quality yields.
The flowering stage of cannabis week by week for GG4 demands precision. By closely monitoring environmental parameters and nutrient uptake, you can optimize conditions to enhance this strain’s natural vigor.
Week 4-6: Flowering Intensifies
As you progress through weeks four to six, the flowering stage becomes more intense. Buds continue to grow in size and density. This period is marked by the development of resin and a stronger aroma.
Monitor your plants closely for signs of nutrient deficiencies or pest infestations. Keep up with regular feedings, ensuring that your plants receive the nutrients they need. Adjust lighting if necessary to prevent light burn on your plants.
These middle stages of the cannabis flowering stage timeline week by week are crucial for setting the final outcome. The increased resin production and aroma signify that the plants are reaching their peak potential.
During this period, cannabis flowering stages week by week pictures reveal the full extent of bud development. Regular monitoring and adjustments ensure that your plants remain on track for a successful harvest.
Real-Life Example: Continued Care
During this stage, all three strains—White Widow, Blue Dream, and GG—require careful monitoring. Each strain may have specific needs, so observe them closely and make adjustments as needed.
Pruning and trimming help improve light penetration and airflow. This maintenance not only supports healthy growth but also enhances the quality of the buds. Regular checks for pests and mold are crucial during this time.
As the flowering stage of cannabis week by week progresses, the individualized care for each strain becomes more apparent. Tailoring your approach to meet the specific demands of each variety can maximize your harvest outcomes.
The cannabis plant flowering week by week growth in these intensive weeks benefits from a proactive approach. By preemptively addressing potential issues, you can maintain plant health and optimize the final yield.
Week 7-8: Late Flowering
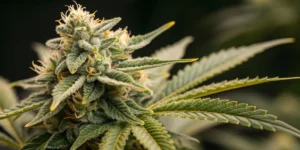
The final weeks of flowering are all about patience. Buds reach their maximum size and begin to mature. This stage is crucial for developing potent, flavorful cannabis.
Trichome production increases, and you’ll notice a change in their color. This is an indicator of the plant’s readiness for harvest. Keep a close eye on trichome development to determine the best harvest time.
The culmination of the cannabis flowering stage timeline week by week is realized in these final weeks. Patience and precision in monitoring trichome maturity are essential for achieving optimal potency and flavor.
By this stage, the cannabis flowering stages week by week pictures should depict well-formed, mature buds. Using a magnifying glass to inspect trichomes will help you decide the perfect moment for harvest.
Real-Life Example: Final Preparations
As you approach the end of the flowering stage, focus on flushing your plants. This process removes excess nutrients from the soil, enhancing the flavor and smoothness of the final product.
Monitor each strain for signs of readiness. White Widow, Blue Dream, and GG will show different indicators of maturity. Use a magnifying glass to inspect trichomes closely.
Flushing is a critical component of the week by week flowering cannabis guide. It ensures that your plants reach their full potential by eliminating residual nutrients that can affect taste and smoothness.
The final preparations in the flowering stage of cannabis week by week are about precision and timing. By carefully managing the end stages, you can produce a product that reflects the care and attention given throughout the growth cycle.
FAQ Section
How long does the flowering stage last?
The flowering stage typically lasts between 6 to 10 weeks, depending on the strain and growing conditions. Indica strains often flower faster, around 6 to 8 weeks, while sativas can take up to 10 weeks or more. Monitoring your plants and using a week by week flowering cannabis guide can help you gauge the timeline accurately.
Different strains from Global Green Genetics, such as White Widow, Blue Dream, and GG, have varying flowering times. It’s essential to understand each strain’s specific needs and characteristics. This ensures you can tailor your care approach to achieve the best results.
Knowing the cannabis flowering stage timeline week by week allows you to plan and manage your cultivation effectively. By knowing the typical duration for each strain, you can ensure your plants remain healthy and productive from start to finish.
Accurate timing and keen observation are essential as you follow the cannabis plant flowering week by week growth. By aligning your expectations with the characteristics of the chosen strains, you can optimize your cultivation practices.
What are trichomes, and why are they important?
Trichomes are tiny, crystal-like structures that form on cannabis buds and leaves. They contain the plant’s cannabinoids and terpenes, which contribute to its potency and aroma. Observing trichome development is crucial during the cannabis flowering stages week by week growth.
Trichomes change color as the plant matures, providing a visual cue for harvest readiness. Clear trichomes indicate immaturity, while cloudy or amber trichomes suggest optimal potency. Understanding trichome development helps you time your harvest for the best quality and effect.
In the context of the cannabis flowering stage timeline week by week, trichomes serve as a reliable indicator of plant health and readiness. Their development and coloration can significantly influence the final product’s quality.
Careful observation of trichomes throughout the flowering stage of cannabis week by week can enhance your ability to harvest at the perfect moment. This attention to detail is key to maximizing both the potency and flavor of your cannabis.
How can I prevent mold during the flowering stage?
Mold prevention is vital during the flowering stage, as dense buds are susceptible to moisture retention. Ensure proper airflow and maintain humidity levels between 40-50%. This creates an inhospitable environment for mold growth.
Regularly inspect your plants for signs of mold, such as white powdery spots or a musty odor. Promptly address any issues by adjusting environmental conditions or removing affected parts. Preventive measures and vigilance are key to preserving your plants’ health.
Incorporating mold prevention techniques into your cannabis flowering stage timeline week by week is essential for maintaining plant health. Consistent monitoring and environmental control can prevent costly and damaging outbreaks.
The flowering stage of cannabis week by week requires a proactive approach to mold prevention. By establishing and maintaining optimal growing conditions, you can protect your plants and ensure a successful harvest.
Why are my leaves turning yellow during flowering?
Yellowing leaves during flowering can result from nutrient deficiencies or environmental stress. Common causes include a lack of nitrogen, magnesium, or other essential nutrients. Assess your feeding schedule and adjust nutrient levels if necessary.
Environmental factors like incorrect pH levels, overwatering, or poor drainage can also contribute to yellowing. Address these issues by testing soil pH and ensuring proper watering practices. Identifying and resolving the underlying cause is crucial for healthy plant development.
Addressing leaf yellowing within the cannabis flowering stage timeline week by week can prevent more severe issues. By identifying and correcting nutrient or environmental problems early, you can maintain healthy and productive plants.
Understanding the causes of yellowing in the flowering stage of cannabis week by week helps cultivators make informed decisions. By responding quickly to these signs, you can ensure continued growth and vitality throughout the flowering process.
What is flushing, and when should I do it?
Flushing is the process of watering your plants with plain water to remove excess nutrients from the soil. This practice enhances the flavor and smoothness of the final product. Flushing is typically done 1-2 weeks before harvest.
During the final weeks of the flowering stage, reduce or stop nutrient feeding and provide only water. This encourages the plant to use up stored nutrients, resulting in cleaner, more flavorful buds. Proper flushing is an essential step in the week by week flowering cannabis guide.
Incorporating flushing into the cannabis flowering stage timeline week by week is pivotal for final product quality. This step ensures that excess nutrients do not compromise the taste and smoothness of the cannabis.
Timing your flushing during the flowering stage of cannabis week by week requires careful planning. By executing this process correctly, you can enhance the overall sensory experience of the harvested buds.