Optimal Temperature Range
Day vs. Night Temperatures
Maintaining a consistent temperature range between day and night helps seeds break dormancy and sprout uniformly. During daylight hours, aim for 24–26 °C to promote rapid cell division and root formation. At night, allow a slight drop to 20–22 °C to mimic natural conditions and support stress recovery. This swing strengthens young sprouts and encourages robust growth without shocking delicate tissues.
Moreover, tracking these fluctuations ensures reliable germination rates. Sudden spikes above 28 °C can slow metabolism, while dips below 18 °C may stall enzyme activity. To avoid these extremes, monitor temperatures hourly and adjust ventilation or heating mats accordingly. By fostering a stable environment, you support healthy seed development and vigorous early growth.
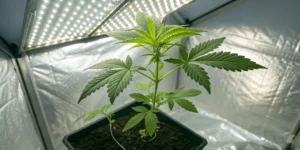
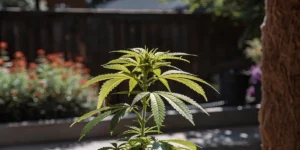
Recommended Strains
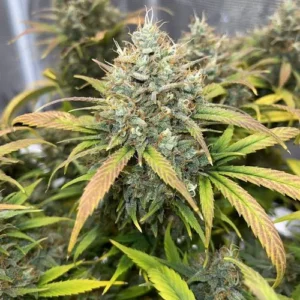
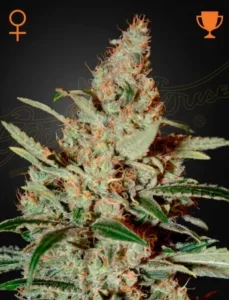
Auto Banana Blaze
|
|
THC | 15% - 20% (Medium) |
|
|
Lineage | Banana Blaze x Auto Mazar |
|
|
Type | Autoflowering |
|
|
Height | 2.46 ft | 0.75 m |
|
|
Yield | Medium |
|
|
Yield Indoor | 1.31 - 1.64 oz/ft² | 400 - 500 g/m² |
|
|
Yield Outdoor | 1.76 - 3.53 oz/plant | 50 - 100 g/plant |
|
|
Life Cycle | 8 - 10 weeks |
|
|
Phenotype | 70% Indica / 30% Sativa |
|
|
Effects | Relaxed, Sedative |
|
|
Flavors | Sweet, Banana |
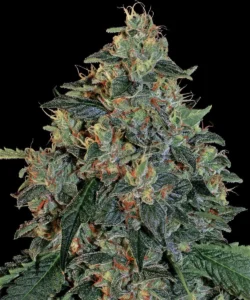
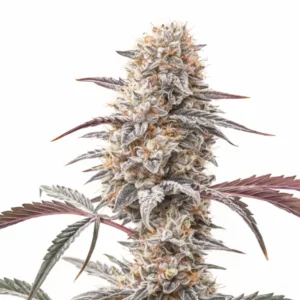
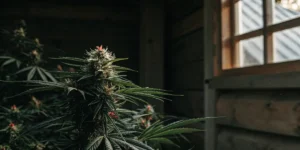
Blueberry Og
|
|
THC | 24% - 25% (High) |
|
|
Lineage | BlueBerry x OG Kush |
|
|
Type | Feminized |
|
|
Height | 4.43 ft | 1.35 m |
|
|
Yield Outdoor | 35.27 oz/plant | 1000 g/plant |
|
|
Flowering Time | 8 - 9 weeks |
|
|
Phenotype | 70% Indica / 30% Sativa |
|
|
Effects | Uplifted, Focused, Euphoric, Giggly, Sedative |
|
|
Flavors | Blueberry, Musk, Citrus, Pine |
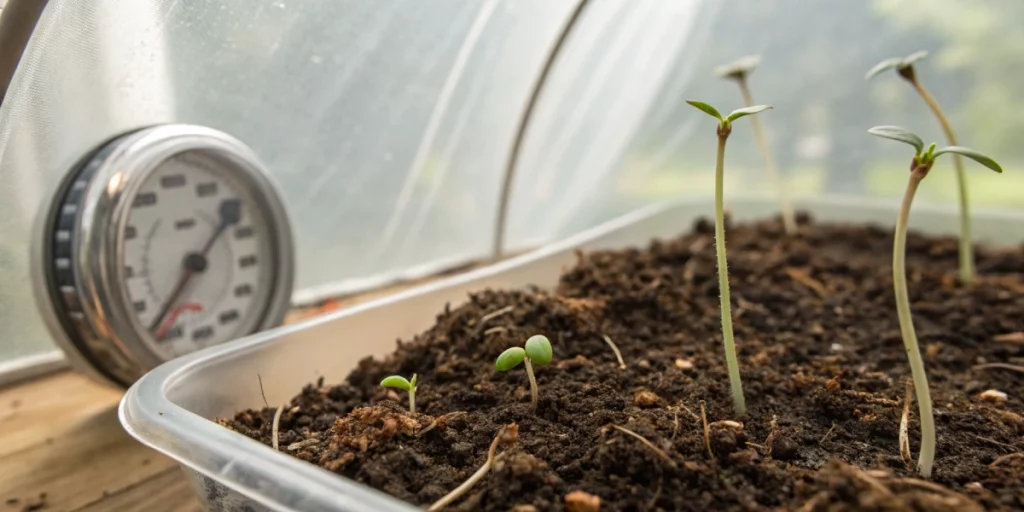
Effects on Sprouting Speed
Seeds react directly to ambient warmth and temp and humidity levels: higher temperatures within the optimal range speed up sprouting, while cooler settings delay it. At around 25 °C with balanced humidity, most cannabis varieties push out radicles in four to seven days. Cooler spots near 20 °C or excessive moisture can extend that window to ten days or more, increasing the risk of damping-off pathogens taking hold.
In addition, if conditions veer too far from the 20–26 °C band, seeds may produce shorter hypocotyls or remain dormant. Balancing heat and airflow prevents moisture buildup and overheating. Keep heating elements at least 2 cm from the seed surface and use a thermostat to fine‐tune the germination chamber. This approach sharpens control and boosts success rates in any grow setup.
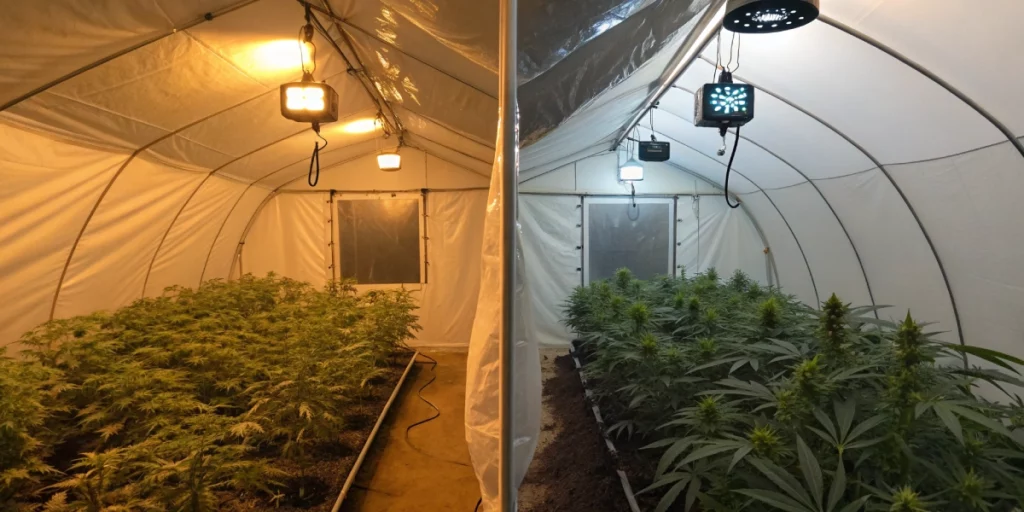
Adjusting for Seasonal Changes
Seasonal shifts demand tweaks in germination setups. In cooler months, supplement with low‐wattage heating pads or closed germination boxes to maintain 22–24 °C. In high‐heat summers, use a shaded area or evaporative cooling pads to prevent temperatures climbing past 28 °C.
Thus, you adapt your strategy to local climate without resorting to artificial extremes. Indoor growers can rely on small space heaters or smart plugs to automate temperature. Outdoor enthusiasts benefit from simple shelters or reflective covers. By staying proactive, you keep seeds in their sweet spot year‐round.
Ideal Humidity Levels
Relative Humidity Targets
During germination, seeds need elevated humidity to soften their coats and trigger growth hormones. Aim for 70–80 % relative humidity (RH) under a dome or in a closed environment. This range prevents rapid evaporation while still allowing gas exchange.
After radicle emergence, gradually lower humidity to 60–65 % over three days. This encourages sturdier stem development and reduces fungal risk. Use a calibrated hygrometer to track changes and open vents incrementally. Consistent RH control supports healthy seedlings and cuts down on common moisture issues.
Preventing Mold in Germination
High humidity can foster mold growth if ventilation remains poor. To prevent spores from settling, introduce fresh air exchanges every 4–6 hours. Small fans set on low speed work wonders, especially when paired with a soil surface cover that blocks condensation.
In addition, sterilize trays and tools before use. Hydrogen peroxide or diluted bleach solutions help kill lingering pathogens. After radicle emergence, remove any residue of seed husks and mold-prone material. These steps keep seedlings safe and reduce the need for chemical treatments.
Humidity Dome Usage
A humidity dome offers precise control over moisture levels without sealing off airflow completely. Select a dome with adjustable vents and position it 1 cm above the growing medium. This gap balances evaporation and fresh air intake.
Furthermore, inspect under the dome daily. Wipe excess water from walls to prevent algae or mold spots. Rotate or lift the dome slightly when humidity peaks above 85 %. Gradual vent opening over several days toughens seedlings and eases the transition to open-air conditions.
Monitoring and Control Tools
Thermometer Placement
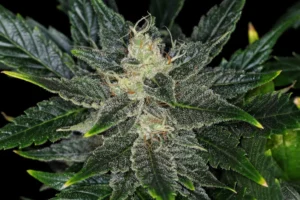
Placing thermometers accurately ensures you measure the environment where seeds—like the Titan F1 Auto strain—live. Position one probe 2 cm above the soil or growing medium, adjacent to the seed. A second probe at canopy height tracks ambient air conditions. This dual approach highlights any thermal gradients, helping optimize conditions for robust growth.
Next, mark readings each morning and evening. Logging data in a notebook or app reveals trends and pinpoints periods needing adjustment. By correlating temperature fluctuations with germination outcomes, you refine your setup and boost success over multiple grows.
Hygrometer Calibration
Calibrated hygrometers guarantee you maintain the correct RH levels. Perform a salt test weekly: seal the device in a bag with a damp salt solution and verify it reads 75 % after eight hours. Adjust the calibration screw or apply an offset in your data log.
Regular checks keep sensors reliable, especially in high‐moisture environments. If you notice drift above 3 %, replace the sensor to avoid false readings. Accurate humidity tracking underpins all moisture management strategies and prevents costly mistakes.
Automated Climate Systems
Automated controllers link heating, cooling, and humidifying units to real‐time sensor data. Set trigger points at 22 °C and 75 % RH to switch on a heat mat or misting system. This hands‐free approach minimizes human error and frees you to focus on other tasks.
Moreover, many controllers offer smartphone alerts if conditions stray outside safe limits. You receive notifications at 2 am rather than discovering failure at morning checks. Investing in automation pays off through consistent yields and reduced crop stress.
Adjustments for Different Methods
Paper Towel vs. Soil Germination
Using the paper towel method lets you watch radicles emerge before transferring to soil. Keep towels damp but not soaked, as excess water can drown seeds. Maintain 24 °C beneath a clear cover, and transfer sprouts at 3 mm radicle length to pre‐moistened soil.
Conversely, direct soil germination offers lower transplant shock. Plant seeds 1 cm deep in light, airy media at 23 °C and 75 % RH. Cover with a humidity dome. Choose your method based on convenience: paper towels for predictability, soil for streamlined workflow.
Hydroponic Seedling Trays
Hydroponic trays require stable temperature in the nutrient solution as well as the air. Keep water at 22 °C to prevent root stress. Use dome vents to hold 70 % RH until seeds sprout, then increase aeration by removing vents gradually.
Additionally, drain excess solution daily to stop algae and pathogens. Monitor pH between 5.8 and 6.2 for optimal nutrient uptake. This dual focus on water chemistry and moisture control fosters rapid, healthy root development in soilless setups.
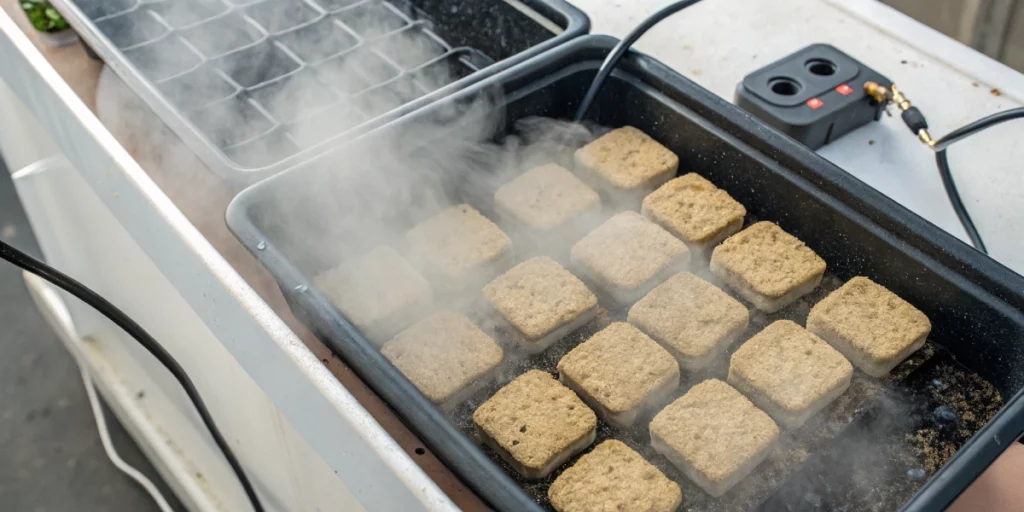
Rockwool and Coco Coir Environments
Rockwool cubes need pre‐soaking in pH‐adjusted water at 5.5–6.0. Keep cubes at 25 °C under a dome at 75 % RH for the first five days. Flip cubes daily to drain puddled water and allow air pockets to form.
Coco coir blends offer natural buffering and require less pH adjustment. Maintain 65 % RH in a tray and 23 °C ambient. Remove the dome after cotyledon opening to promote stem strength. Both media types benefit from careful moisture and temperature management.
Troubleshooting Fluctuations
Fixing Temperature Swings
Rapid temperature swings stress seedlings and delay growth. To fix this, insulate your germination chamber with reflective foam or bubble wrap. This barrier reduces heat loss overnight and guards against daytime over‐heating from grow lights.
In addition, install a digital controller to manage a small ceramic heater or cooling fan. Set the range to 20–26 °C. This automation smooths out extremes and delivers a stable climate. Consistency boosts germination success and reduces seedling mortality.
Addressing Humidity Spikes
If RH spikes above 85 %, remove the dome for short intervals to lower moisture levels. Use a dehumidifier or silica gel packets around the tray edges to absorb excess water. Monitor drops until you hit the 70–75 % target.
Then, resume normal dome usage with vents partially open. These quick fixes protect stems from rot and prevent fungal outbreaks. Maintaining steady humidity keeps seedlings vigorous and ready for transplant.
Recovering Stressed Seeds
Stressed seeds often show weak radicles or yellowing cotyledons. To revive them, gently increase airflow for a few hours per day under 22 °C conditions. Mist lightly to rehydrate tissues without causing waterlogging.
Additionally, consider a mild foliar spray of diluted seaweed extract to supply growth hormones. Apply only once after radicle emergence. These steps help seeds bounce back and resume healthy growth without chemical stress.
FAQs about cannabis seed germination temp and humidity
How long should I keep humidity high?
Keep humidity elevated at 70–80 % until cotyledons fully open, usually three to five days after sprouting. Then, lower RH gradually to 60 % to harden stems and improve transpiration efficiency before moving to deeper trays or pots.
Can I use a heat mat safely?
Yes. Place the heat mat under the germination tray and set it to 22–24 °C. Monitor soil temperature separately—avoid direct seed contact with the mat. Use a thermostat to prevent overheating beyond 26 °C and watch for any condensation buildup.
What’s too hot for young sprouts?
Temperatures above 28 °C stress seedlings, slow root growth, and encourage leggy stems. If readings exceed this threshold, increase airflow or lower light intensity. Sustained heat beyond 30 °C can kill delicate sprouts within hours.