Using the water method for cannabis seeds is a simple and effective way to kick-start germination with speed and precision. By soaking seeds in clean water, growers can quickly identify viable seeds, reduce exposure to soil pathogens, and achieve more uniform sprouting. This guide explains the benefits of water germination, the exact soaking process, and how to safely transition seeds from water to soil or other growing media for strong, healthy seedlings.
Benefits of the Water Germination Method
Speeding Up Sprouting
Soaking cannabis seeds in water kick-starts germination by fully hydrating the seed coat, which activates internal enzymes almost immediately. This rapid moisture uptake dissolves natural growth inhibitors faster than dry methods, so roots typically emerge within 24 to 48 hours instead of the week or more often required by direct soil planting. New growers appreciate this predictable timeline, since they see clear signs of life quickly and can plan light schedules and transplant dates without guessing.
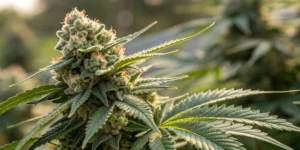
Recommended Strains
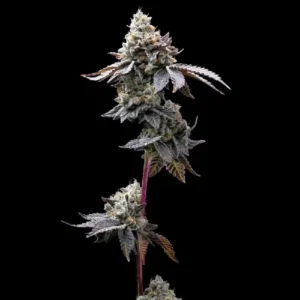
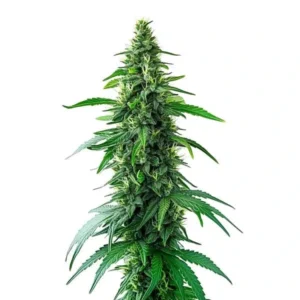
Colombian Jack
|
|
THC | 28% - 29% (High) |
|
|
Lineage | Nebula x Black Jack |
|
|
Type | Feminized |
|
|
Height | 5.74 ft | 1.75 m |
|
|
Yield | High |
|
|
Yield Indoor | 1.64 oz/ft² | 500 g/m² |
|
|
Yield Outdoor | 31.75 oz/plant | 900 g/plant |
|
|
Flowering Time | 9 - 10 weeks |
|
|
Phenotype | 30% Indica / 70% Sativa |
|
|
Effects | Balanced |
|
|
Flavors | Citrus, Floral |
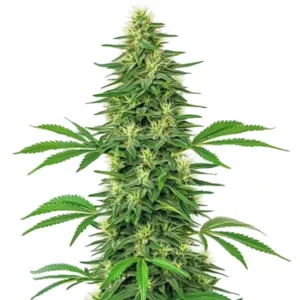
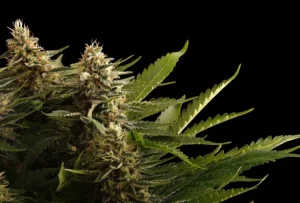
Charlottes Web
|
|
Lineage | Secret |
|
|
Type | CBD Feminized |
|
|
Height | 4.92 ft | 1.5 m |
|
|
Yield | Low |
|
|
Yield Indoor | 1.15 - 1.31 oz/ft² | 350 - 400 g/m² |
|
|
Yield Outdoor | 19.4 - 21.16 oz/plant | 550 - 600 g/plant |
|
|
Flowering Time | 10 - 12 weeks |
|
|
Phenotype | 30% Indica / 70% Sativa |
|
|
Medical | Depression, Insomnia, Muscle Spasms |
|
|
Effects | Happy, Hungry, Relaxed |
|
|
Flavors | Earthy, Pine, Woody |
In addition, fast sprouting promotes more uniform seedlings when you handle multiple seeds at once. Each seed receives identical moisture exposure, reducing variability in germination times and minimizing weak, delayed sprouts. By shortening the silent waiting period, you gain both confidence and control, no more worrying about which seeds will lag behind or planning around uncertain start dates.
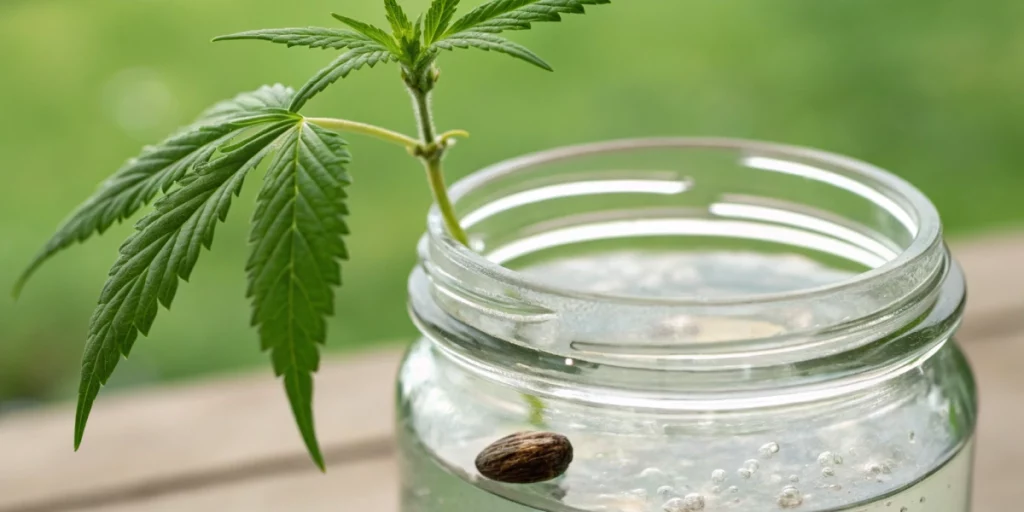
Visibility of Root Emergence
Using a transparent jar or a clear plastic cup for the soak gives you real-time feedback on root growth. You watch the tiny white radicle push through its shell, confirming a successful start and allowing you to discard any seeds that remain dormant. Early detection of non-viable seeds prevents wasted space and resources when it’s time to plant, and it helps you adjust your germination plan on the fly.
Visual cues also help you judge the ideal moment to transfer seedlings into soil or a growing medium. If you wait too long, roots can tangle or suffer from lack of oxygen; if you transplant too early, the radicle may be too short to anchor the seedling properly. Clear visibility ensures you move each sprout at peak readiness, improving transplant success rates and reducing shock at planting.
Reducing Soil Pathogens
Water germination creates a clean zone that isolates seeds from the harmful fungi and bacteria lurking in unsterilized soil. By soaking seeds in fresh, clean water, you dramatically cut the risk of damping-off disease and root rot during the vulnerable germination phase. This method gives your seedlings a head start in a pathogen-free environment, so they establish stronger roots before encountering soil microbes.
For extra protection, you can add a tiny amount of food-grade hydrogen peroxide or a mild chamomile tea rinse to your soak solution. These natural additives eliminate lingering spores without harming the seed, keeping the soak solution sanitary. By the time you plant, roots look pristine and healthy, setting the stage for vigorous growth once they reach the soil.
Step-by-Step Water Soak Process
Selecting Clean Water
Choose water that’s free of chlorine and heavy minerals to avoid shocking delicate seeds. Allow fresh tap water to sit uncovered for 12 to 24 hours so chlorine dissipates naturally. If your tap supply has high mineral content or fluctuating pH, opt for filtered or distilled water to keep conditions stable.
Next, sanitize your container by rinsing it with hot water or a weak bleach solution, then rinse thoroughly. Use a glass jar or clear plastic cup that you reserve solely for germination. Always handle seeds with clean hands or sterilized tweezers to maintain a bacteria- and fungus-free soak environment, which sets the tone for healthy sprout development.
Optimal Soaking Duration
Aim to soak seeds for 12 to 24 hours at room temperature—around 21 °C to 25 °C. This window offers enough time for the seed coat to soften without depriving the embryo of oxygen. Exceeding 24 hours risks root suffocation and rot, so plan to inspect seeds before the clock hits a full day.
At the 12-hour mark, carefully drain the water and check for tiny white tips. If you see early roots, plant those seeds immediately. If not, refill with fresh water and continue soaking in short increments, checking every four hours. This staggered approach balances moisture and aeration, triggering consistent germination while preventing over-soaking damage.
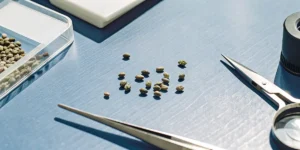
Identifying Ready Seeds
A seed is ready to plant once you spot a radicle about 1–2 millimeters long. Handle that sprout with great care touching the root can kill or deform it. Always lift seeds by their more robust end, where no fragile tissue has emerged, to avoid injury.
Discard any seeds that remain plump and hard after a full 24 hours of soaking. They likely lack viability and will only slow your progress if you try to coax them further. By culling non-sprouters early, you focus your tray space on seeds that show true promise, streamlining your workflow and maximizing chances of uniform stands.
| Germination Factor | Best Practice with Water Method | Why It Matters |
|---|---|---|
| Water Type | Filtered or dechlorinated water | Prevents seed shock and damage |
| Soaking Time | 12–24 hours maximum | Avoids oxygen deprivation and rot |
| Ideal Temperature | 21–25 °C (70–77 °F) | Activates enzymes for faster sprouting |
| Ready-to-Plant Sign | Radicle visible (1–2 mm) | Ensures strong anchoring in soil |
| Common Risk | Over-soaking | Can suffocate or rot the root |
| Best Next Step | Transfer to soil or medium | Reduces transplant stress |
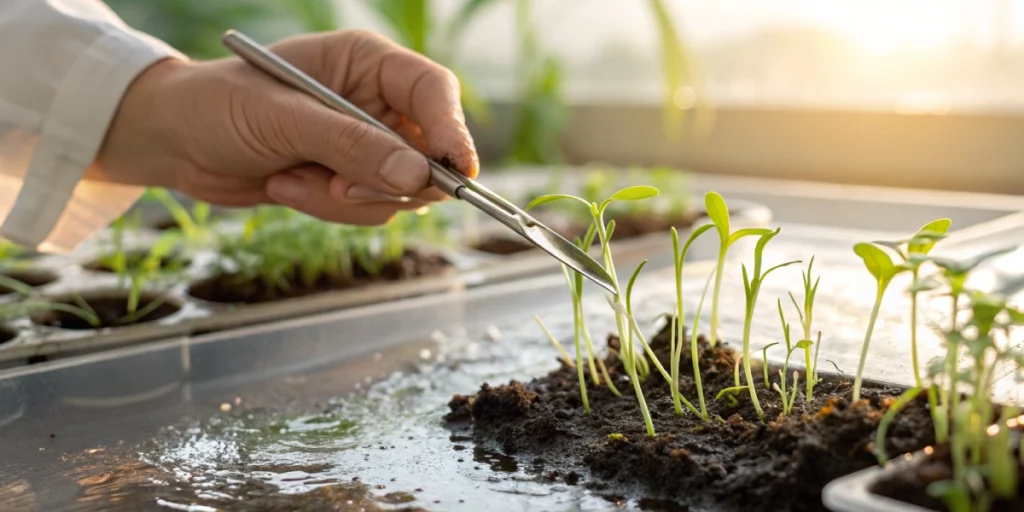
Transitioning from Water to Medium
Gentle Handling
When moving sprouted seeds, use sterilized tweezers or a damp fingertip held at the seed’s top half. Avoid pressing or squeezing; even slight pressure can break the new root. A light touch ensures the radicle remains intact as it enters its new home.
Place each seed on the prepared medium fine seedling mix or moist soil then gently pinch the surrounding particles to secure it. This offers immediate physical support without compressing the root. Your goal is firm contact with the medium while leaving space for the root tip to expand unimpeded.
Planting Depth Guidelines
Set sprouted seeds no deeper than twice the radicle’s length, usually just 5 to 10 millimeters under the surface. A shallow planting encourages seedlings to break through quickly, minimizing the energy they use to reach light. Deep placement can slow or stunt early growth.
Cover lightly with fine, moist soil or a light seed-starting mix, keeping the canopy area loose for air exchange. Firming the soil too much restricts oxygen flow, while leaving it too loose can dry out critical root zones. Aim for a gentle balance that locks the seed in place without packing the medium.
Immediate Care
After planting, mist the soil surface gently to settle particles around the radicle. Avoid heavy watering that might dislodge or drown the seed. Using a spray bottle on a fine mist setting delivers just enough moisture to keep the medium damp.
Place seedlings under low-intensity light, such as cool white fluorescents or gentle LEDs, about 15–20 centimeters above the canopy. Maintain humidity by covering the tray with a clear plastic dome or a loose plastic bag, ensuring some airflow to prevent mold. Within three to five days, cotyledons will unfurl, signaling the time to remove the cover and increase light intensity.
Troubleshooting Common Issues
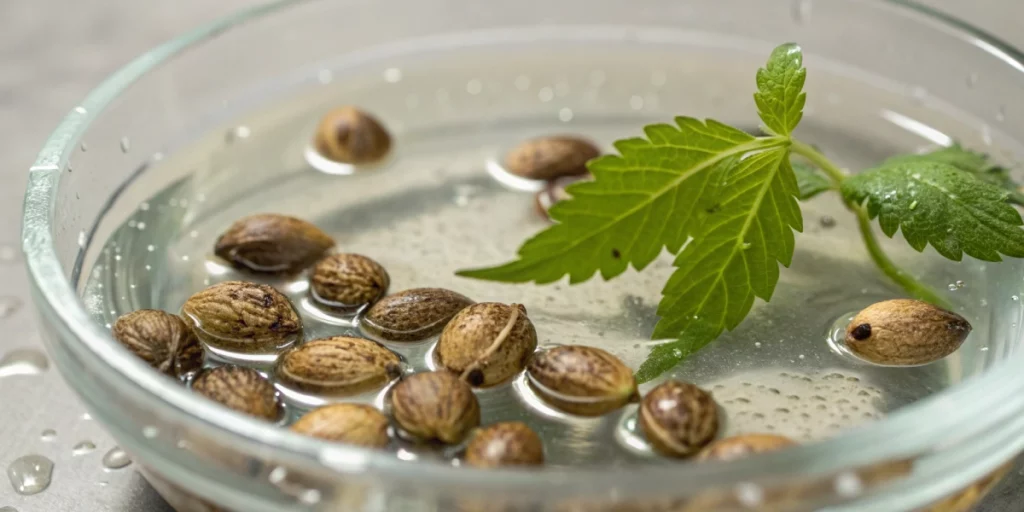
Seeds That Sink vs. Float
Seeds that sink right away typically absorb water quickly and often sprout well. Floating seeds may still germinate, but they usually take longer or fail entirely. However, don’t discard floaters immediately, as air bubbles can cause temporary buoyancy.
Gently swirl floating seeds in water; if they sink after agitation, they’re probably fine. Continue soaking for a few more hours and check again. If seeds still float after a full day, it’s best to replace them, keeping your germination tray free of underperformers and focused on seeds that show early promise.
Mold and Bacterial Risks
Warm, stagnant water provides an ideal breeding ground for mold and bacteria. If you notice a slimy film or an off smell, drain the solution at once. Rinse seeds and container thoroughly, then start a fresh soak with clean water or a mild chamomile tea rinse, which naturally inhibits microbes.
To lower risk further, change the soak water twice daily and keep the container in a cool, shaded spot. If contamination recurs, consider adding one drop of food-grade hydrogen peroxide per 100 milliliters of water. This measure helps preserve seed health without damaging emerging roots.
Delayed Sprouting
Some seeds need extra coaxing if they don’t show a radicle after 48 hours. Begin by moving them to a slightly warmer area—warmth around 24 °C to 26 °C boosts metabolic activity, encouraging the embryo to break dormancy. Avoid direct heat sources that can overcook seeds.
If temperature adjustments fail, lightly scarify the seed coat with fine sandpaper or a sterilized razor blade. Remove just enough material to penetrate the outer shell, then return seeds to fresh water. This gentle abrasion helps water enter tougher coats, often triggering delayed seeds to sprout within the next 12 to 24 hours.
Comparing Water to Other Methods
Paper Towel Pros and Cons
Germinating seeds between damp paper towels provides clear visibility of root growth, much like a water soak. However, towels can dry out quickly or remain too wet, creating uneven moisture levels that stress seeds and increase mold risk if left unchecked.
If you choose this method, keep towels just moist—never soaking wet—and change them twice daily. While paper towels let you track each seed’s progress visually, they require more maintenance than a simple soak, making them better suited for those who can monitor closely throughout the day.
Direct Soil Germination
Sowing seeds directly in soil mimics nature and removes the transplant step, eliminating potential root damage. Seeds germinate underground and emerge ready to grow in their final medium, reducing shock from moving between environments.
The downside lies in uncertainty: you can’t see which seeds fail until days later, and soil conditions can vary across a tray. This variability can lead to uneven emergence, making planning more challenging. Water germination offers more control and predictable outcomes for growers seeking consistency.
Hydroponic Starts
Hydroponic germination uses inert media such as rockwool soaked in nutrient solution, merging germination and seedling growth in one system. This method ensures continuous moisture and precise pH control, fostering rapid root development without transplant stress.
However, hydroponics requires specialized equipment, constant monitoring, and a steeper learning curve. Water germination remains simpler and more accessible, demanding minimal tools while still delivering visible, reliable results with roots ready for soil or hydro systems.
FAQs about cannabis seed in water
How long should I soak seeds?
Most growers see a tiny white root within 12 to 24 hours of soaking at room temperature. Check seeds at the 12-hour mark, refresh the water, and monitor every four hours. If no root appears by 24 hours, raise the temperature slightly or apply mild scarification to the seed coat. With the right adjustments, you’ll typically have sprouts ready for planting by the end of the second day.
What indicates a good seed?
A strong seed feels firm, heavy, and free of surface cracks. After soaking, viable seeds sink easily and display a bright white radicle about 1–2 mm long. Look for a clean, healthy appearance; avoid any with slimy coatings or discoloration. Seeds that resist sinking or remain plump without sprouting often lack the vitality needed for successful germination.
Can water-only damage seeds?
Over-soaking beyond 24 hours without fresh water can suffocate the radicle, leading to rot or stunted sprouts. Always change soak water at least once every 12 hours to maintain oxygen levels. If a seed shows no root after 48 hours, move it to soil or try a gentle scarification. Timely transfer stops damage and supports healthy sprout development.