Common Germination Issues
Over-watering Risks
When you soak your seeds too heavily, you swamp their developing roots and block precious oxygen. Roots need air pockets in the soil to breathe and expand, but when you pour too much water you create a soggy mess that kills young sprouts. You might spot mold or discoloration early, which signals stress. By staying alert to soil moisture and letting the surface dry slightly before each watering you protect sensitive seeds from rot and stalling.
You can avoid that risk by using a spray bottle instead of a heavy pour when you worry about cannabis seeds not germinating. Light misting gives seeds room to absorb moisture without drowning. Furthermore, you improve air intake by choosing a pot with drainage holes and a well drained mix. Check drainage by tipping the pot gently after watering; if excess water drains quickly you know your mix works. That simple habit keeps seeds on track toward healthy sprouting and growth.
Recommended Strains
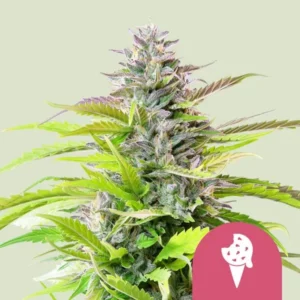
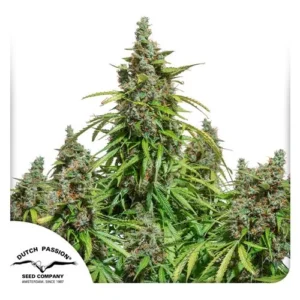
Ginger Punch Auto
|
|
THC | 12% - 14% (Low) |
|
|
Lineage | Ginger-Ale x Ruderalis |
|
|
Type | Autoflowering |
|
|
Height | 5.74 ft | 1.75 m |
|
|
Yield | Medium |
|
|
Yield Indoor | 1.31 oz/ft² | 400 g/m² |
|
|
Yield Outdoor | 7.05 oz/plant | 200 g/plant |
|
|
Life Cycle | 9 - 10 weeks |
|
|
Phenotype | 50% Indica / 50% Sativa |
|
|
Effects | Balanced |
|
|
Flavors | Sweet, Spicy, Floral |
Auto Mazar
|
|
THC | 15% - 20% (Medium) |
|
|
Lineage | Mazar X indica Autoflower |
|
|
Type | Autoflowering |
|
|
Height | 2.62 ft | 0.8 m |
|
|
Yield | Low |
|
|
Yield Indoor | 0.66 - 0.98 oz/ft² | 200 - 300 g/m² |
|
|
Yield Outdoor | 7.05 oz/plant | 200 g/plant |
|
|
Life Cycle | 10 - 12 weeks |
|
|
Phenotype | 90% Indica / 10% Sativa |
|
|
Effects | Calming, Relaxed |
|
|
Flavors | Herbal, Earthy, Pine |
Soil Compaction
Over time, soil can compress under the weight of water and plant matter, leaving too little space for roots to push through. Hard, dense soil stops tender shoots before they break the surface, delaying or even halting the process. You might notice unbroken soil crust or slow swelling of seeds. Act quickly to avoid wasted seeds, since compacted mix stresses the seed and drains energy it needs to push out the radicle and cotyledons.
To fix this, fluff your soil mix gently before planting. Stir in perlite or vermiculite to maintain light structure and boost aeration. You also prevent packing by planting in small containers and avoiding heavy pressing of the soil. When you water next, pour slowly so you don’t compact the surface. With that simple tweak you ensure roots meet loose, airy soil and prevent cannabis seeds not germinating due to compaction issues.
Temperature Fluctuations
Seeds thrive within a narrow temperature band, so sudden drops or spikes can stall germination. If you expose seeds to cool nights or hot afternoons, you confuse their metabolic processes. You may see seeds swell then sit idle, or sprouts appear weak and slow. Temperature swings stress embryos and increase failure risk. You want a steady warmth that mimics spring days, which supports enzyme activity and kick starts growth.
Maintain a stable environment by placing seeds near a heat source with even distribution. A dedicated heat mat set to 21 to 24 C works wonders without overheating. Always monitor with a reliable thermometer placed at seed level. You also level out daily swings by covering trays with clear lids or humidity domes, which trap heat evenly. Such control leads to strong root emergence and rapid shoot development.
Pre-germination Checks
Seed Viability Tests
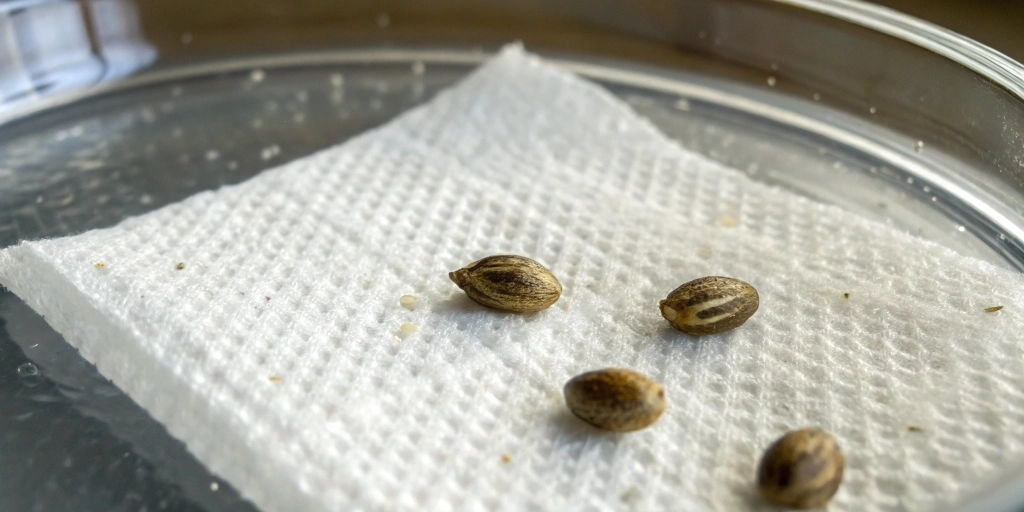
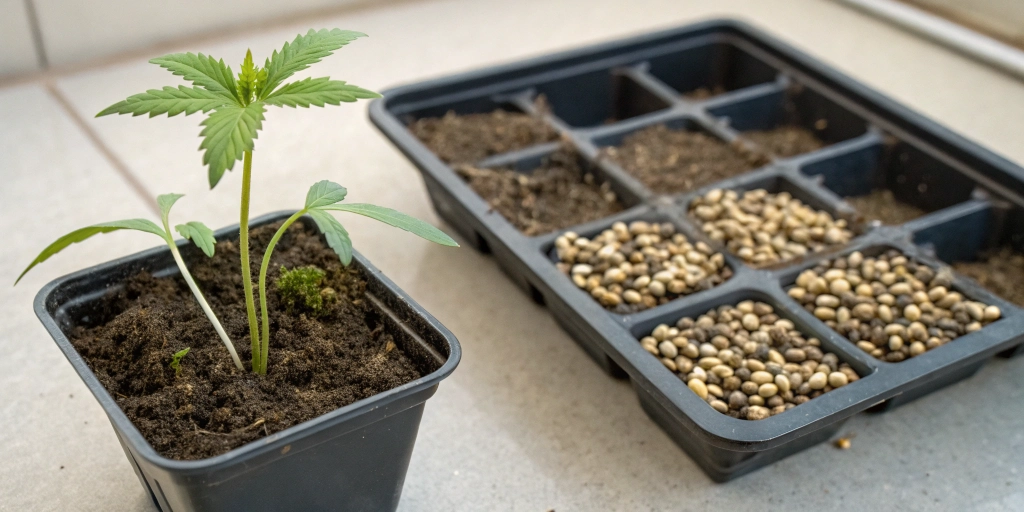
Before you commit time and budget to planting, you can test seed life with a simple germination trial that takes less than a week. First, fold a paper towel over each seed and dampen it without soaking. Next, seal the bundle inside a clear plastic bag and store it at room temperature near a light source. If most seeds swell, crack open, and reveal tiny white taproots, you confirm they carry live embryos ready to sprout. This simple check prevents wasted effort in your main grow media.
This viability trial gives you confidence and helps budget your resources. You avoid spending soil and nutrients on seeds that refuse to grow. Moreover, you gain insights into batch quality, guiding future purchases. If germination rates fall below your target threshold, you adjust seeding rates or order fresh stock. That proactive approach streamlines your garden and maximizes your chance of a thriving crop when you move to full planting.
Age and Storage History
Seed age plays a big part in sprouting success. Older seeds lose moisture and their protective coats become brittle, which lowers germination rates. If you hold seeds for more than two years without ideal storage, you risk weak or no sprouting. You also face unpredictable performance when you plant old stock. That uncertainty can waste time in your garden’s early stages, so keep track of purchasing dates.
To keep seeds fresh, seal them in airtight containers with a desiccant packet in a cool, dark spot. A constant temperature below 10 C and humidity below 20 percent extends their life drastically. Avoid exposure to light and heat that accelerate aging. With this method you maintain high viability and know exactly when to plant for the best outcomes.
Visible Damage
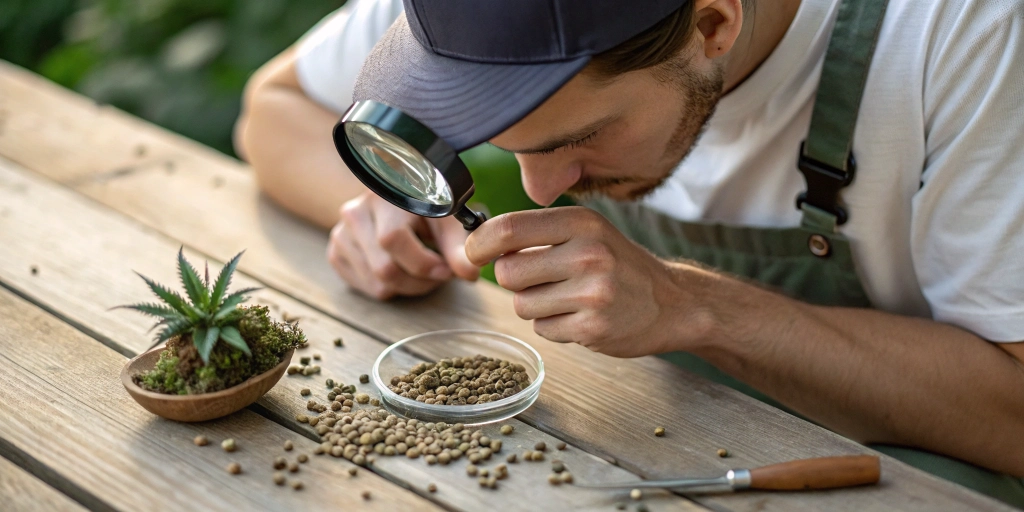
You can often spot seeds that fail before planting by examining their appearance. Healthy seeds show a firm, smooth shell and rich brown or gray tones. If you find cracks, dents, or white fuzz on shells, those seeds likely face internal decay or mold damage. You avoid headache by discarding compromised pieces early. That simple visual inspection filters out problem cases before you even wet the soil.
Sort your seed batch to remove any damaged specimens before you test viability or plant. Wearing gloves, handle seeds gently to avoid adding stress cracks. Place questionable seeds aside for real germination trials, while top-quality pieces go straight into your preferred method. By reducing risk upfront you save time and keep your grow on an efficient track toward consistent, healthy sprouts.
Adjusting Germination Methods
Paper Towel vs. Direct Plant
Gardeners split into two camps: those who choose a wet paper towel to coax seeds into opening, and those who plant seeds directly in their final soil mix. The towel technique lets you watch taproots emerge, giving you precise timing to move sprouts to soil. In contrast, direct planting reduces root disturbance and avoids transplant shock. Each path has pros and cons, so picking one depends on your style and risk tolerance.
If you value control, use the towel test for the first phase and then transfer to a soft, pre moistened mix once the taproot reaches five millimeters. Always handle roots by the shell, not the fragile root tip. If you prefer simplicity, bury seeds one centimeter deep in loose substrate. Keep moisture even and cover lightly with soil to maintain humidity. That blend of care and consistency ensures your seeds take root smoothly.
Humidity Dome Use
A clear humidity dome traps moisture and heat around your seeds, creating a gentle greenhouse effect. That environment boosts germination speed by stabilizing conditions and preventing soil crusting. You get an even micro climate ideal for the first critical days after moisture contact. However, you must watch for over humidity that leads to mold growth. Balance is key for best results.
To use a dome well, lift its lid daily to let fresh air exchange and prevent fungal issues. Wipe interior walls with a clean cloth to remove droplets that encourage mold. If you spot excess moisture, crack the dome for a few hours to let some water escape. Combine that practice with room temperature control between 20 and 24 C. In time you create perfect germination conditions and help every seed push through.
Gentle Heat Mat
A gentle heat mat provides consistent warmth at root level, encouraging seeds to germinate faster. You place your trays on the mat and set it to the ideal range for cannabis seeds, usually between 21 and 24 C. That constant heat helps enzymatic processes jump start, giving you more predictable sprouting times. Without a mat you often see slower or uneven emergence, as ambient room temps fluctuate.
Always calibrate your mat with a reliable thermometer placed under the soil or paper towel. Avoid setting temperatures above 25 C to prevent overheating. You also rest trays on a thin insulation layer to spread heat evenly and prevent hot spots. If you skip these steps you risk drying out or cooking your seeds. Proper mat use leads to quicker, more uniform germination across every seed.
Disease and Mold Concerns
Preventing Fungus
In a damp germination setup, fungus can bloom quickly and choke seeds. Botrytis or pythium attack when moisture clings to shells and you lack airflow. Once fungus takes hold you see slimy residue and seeds fail within days. That frustration can derail your grow before it even starts, so preventing fungal threats comes first in your checklist. Early action saves time and money.
You can stop fungus by using fresh materials and avoiding stagnant air. Always sterilize trays, scissors, and tools with diluted alcohol before each use. Use a small fan or open a window to keep air moving gently around your setup. If you spot early mold signs, isolate the affected tray and let it air dry under low heat. With these steps you secure a clean environment where seeds thrive.
Sterile Materials
Using sterile materials cuts contamination risk out of your workflow. Reusable trays and lids must join a cleaning routine after each run. If you skip sterilization, leftover spores invade new seeds without warning. That hidden hazard stalls germination or invites disease. By making cleanliness a habit you start every session on a solid, disease free foundation.
To clean properly, wash trays and tools in warm soapy water and rinse thoroughly. Follow up with a 10 percent bleach or alcohol solution and let items soak for ten minutes. Rinse again with clear water and air dry on a clean towel. Store dried items in a sealed bin until use. This routine keeps your materials pristine and cuts disease threats before they reach seeds.
Antifungal Treatments
When you face persistent mold problems, antifungal treatments offer extra protection. You might use a natural solution like chamomile tea or diluted hydrogen peroxide on your paper towel or soil. These options kill spores without harming seeds. Always mix treatments at low concentrations to avoid chemical stress on embryos. If you follow instructions you boost germination success without introducing harsh compounds.
Use treatments sparingly and only after other methods fail. Apply a gentle mist of chamomile infusion once per day or soak the paper towel briefly in a mild peroxide mix. Avoid direct application on fragile roots once they emerge. Instead, treat only the substrate. That careful use provides a secondary line of defense, helping your seeds push past microbial threats on their way to a healthy first root.
Recovery Strategies
Re-soak Protocols
If seeds sit too long on a towel or in dry soil, they drop hydration and stall. You can bring them back with a re-soak protocol that revives moisture. Place seeds back in a damp paper towel, fold gently, and seal in a bag for twelve hours. That step rehydrates the seed coat and starts new enzymatic activity. You see improved swelling and can give these seeds a second chance at germination.
Don’t overdo re soaking. Excess moisture without air kills sprouts fast. After the re soak, move seeds to a fresh, clean substrate with good drainage. Keep temperatures stable and watch for taproot signs. If you still see no progress after forty eight hours, consider discarding and focusing on seeds already moving ahead. Applying re soak properly recovers borderline seeds and boosts overall success.
Fresh Substrate
Old or used soil can harbour pathogens or lock moisture unpredictably. When seeds struggle, moving them to fresh substrate refreshes their environment entirely. Choose a light, nutrient free mix designed for seedlings. It should hold moisture but drain quickly to keep roots from drowning. By shifting seeds into that clean mix you start a brand new chapter for germination and cut out hidden variables.
Use a layering trick to give seeds the best launch. Place a thin base of fine perlite or vermiculite in the bottom of your tray. Top that with your seedling mix so moisture spreads uniformly. Then plant seeds at the proper depth and water from the tray bottom. Capillary action draws up water gently, preventing compaction. This method keeps a fresh, loose environment that energizes sprouts every time.
Patience and Observation
Sprouting takes time, often three to seven days under ideal conditions. If you rush to plant or disturb trays you stress seeds and slow progress. Instead, watch daily without opening covers too often. Observe small changes in shell cracking or soil swelling. By treading lightly and trusting the process you avoid unnecessary interference and let nature do its job.
Keep a simple journal logging planting date, ambient conditions, and any adjustments you make. That record helps you spot patterns over multiple runs and refine your approach. When you note which batch struggled or thrived under certain settings you build a reliable system. Ultimately, these observations turn into practical guidelines that boost germination and give you a consistent start for every grow.
FAQs about cannabis seeds not germinating
How long should I wait?
Most seeds sprout within three to seven days if you maintain warmth and moisture. If you see no taproot by day ten it may be time to re soak or test viability. Keep humidity and temperature steady, and resist pulling the seed to check prematurely. A little patience goes a long way and helps avoid damage that stops germination in its tracks.
Can I replant a dry seed?
If a seed dries out before cracking, you can give it another chance with a gentle re soak in a damp towel. Watch for swelling and move it back into fresh substrate within twelve hours. Avoid leaving it wet too long or without airflow. While not all seeds recover, this approach revives many borderline cases and can increase your overall sprout rate.
When is it time to discard?
If you see no taproot after ten days and your viability tests fail, it is time to discard the seed. Continuing to wait often wastes time and space. Focus on seeds that show clear signs of life rather than chasing every case. By removing non germinating seeds you direct resources to the ones with potential and protect your setup from decay or mold buildup.