Common Reasons for Germination Failure
Over-watering issues
When you soak paper towels too much, seeds lack oxygen and struggle to sprout. Excess water fills air pockets around the seed coat, causing seeds to suffocate rather than push out a radicle. Mold also thrives in wet conditions, and those spores attack the seed shell. To protect seeds, aim for even dampness. Continuous moisture is key, but too much invites pathogens that weaken seed health. Maintaining that critical balance saves time and reduces lost seeds each cycle.
Moreover, consistent moisture helps roots grow straight and strong. When towels sit soaked for too long, seeds can lodge in soggy fibers, forcing roots to twist in search of air. Check towels twice daily and squeeze out surplus water. If you spot pooled moisture, swap in fresh sheets to keep seeds from drowning in their own environment. That quick swap also refreshes oxygen levels for a healthier germination process.
Temperature fluctuations
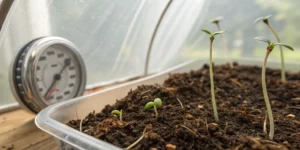
Seeds need stable warmth to trigger enzyme activity and cell division. Cold nights below 21 °C slow metabolism, while sudden heat spikes above 26 °C stress the embryo. That shift causes seeds to stall or abort germination. To maintain steady heat, avoid placing towels next to open windows or heating vents. External temperature swings can add unwanted stress at critical early stages of life.
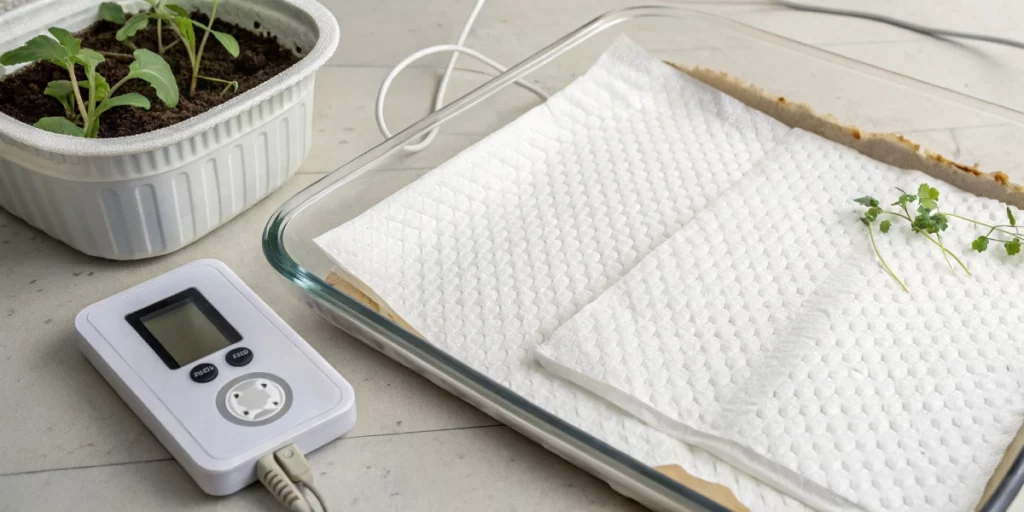
Furthermore, frequent temperature swings force seeds into survival mode and delay sprouting. When conditions bounce too much, embryos conserve energy instead of expanding cells. Use a simple digital thermometer to monitor conditions. If readings drift beyond the ideal range, enclose towels in a box or invest in a small thermostatic heat mat. Stable temperatures speed up radicle breakthrough consistently.
Old or poor-quality seeds
Breeders list harvest dates for a reason: seed vigor declines with age. After a year on the shelf, stored at room temperature, germination rates often dip below half. Cheap seed packs may hide weak or damaged seeds that never had proper drying or curing processes. Age affects stored nutrients, making older seeds slower to react to moisture and warmth.
In addition, damaged seeds show discoloration or cracks that let pathogens in. Fungal spores or bacteria exploit those weak spots, reducing viability even more. Always obtain seeds from trusted breeders who guarantee quality and freshness. Run a small germination test before planting your main crop to confirm viability and adjust your grow plan accordingly.
Optimizing the Paper-Towel Method
Correct moisture levels
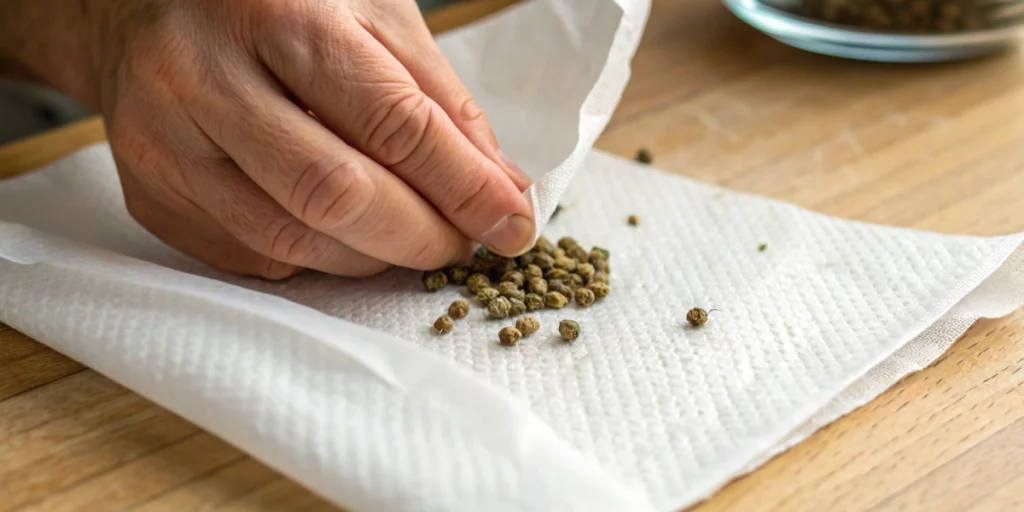
A paper towel must feel damp, not drenched. Seeds rest best on towels that leave a moist imprint without dripping water. That cautious moisture level ensures oxygen reaches the embryo. Too much water pushes oxygen out, and too little halts root activity. Proper moisture fuels enzyme reactions and cell expansion below the shell.
Also, refresh towels every three days to prevent mold buildup. Rinse seeds gently before rewrapping them in new sheets. This practice removes bacteria and fungus, and it renews moisture without shocking the seed. Swapping towels on a schedule keeps the microenvironment clean and oxygen-rich, accelerating germination rates.
Ideal temperature range
A consistent 21 °C to 26 °C range boosts germination speed. Seeds that rest in this band often show a radicle within three to five days. Lower temperatures drag out the process, while higher ones risk heat stress that damages cell tissues. Uniform warmth maximizes enzyme efficiency for quick root emergence.
To keep conditions steady, set towels on a thermostatic heat mat or tuck them inside a closed cabinet. Monitor with a probe every morning and evening. If you spot a fluctuation, relocate the setup to a more stable spot in your grow area. Tracking temperature trends helps you fine-tune placement and avoid unwanted pauses in germination progress.
Light exposure management
Seeds stay dormant until the radicle emerges, so they don’t need light during germination. Direct light dries towels and raises heat, both of which disrupt moisture balance. Keeping seeds in darkness ensures they focus energy on root growth rather than leaf production.
Meanwhile, limit inspections to once or twice per day. Each time you lift the lid or open the drawer, you risk altering temperature and humidity. Short, quick checks help seedlings push through the shell without environmental swings. Maintaining that dark, stable habitat is key to strong, straight roots.

Alternative Germination Techniques
Direct soil sowing
Planting seeds directly into soil lets roots find moisture and nutrients naturally. Insert each seed about 1 cm deep into a loose, well-draining mix. Water the tray from below, filling the reservoir until soil wicks up enough moisture. This approach mimics outdoor conditions and reduces handling stress.
Additionally, soil buffers against small temperature and moisture swings. Cover the tray with clear plastic or a dome to maintain humidity. Remove the cover once you see tiny green cotyledons peeking through the surface. That gradual exposure toughens seedlings without shocking them.
Starter plugs
Peat or coco plugs offer a self-contained germination chamber. After soaking a plug fully, insert one seed in its central hole and gently cover it. Plugs hold moisture evenly and protect roots during transfer, minimizing the risk of root damage.
Furthermore, domed trays keep humidity at ideal levels for the first few days. Once the radicle appears, remove the dome to toughen seedlings. Then transplant the plug directly into soil or hydro, and roots stay intact. That method streamlines the transition from germination to vegetative growth.
Hydroponic setups
Rockwool cubes and net pots immersed in nutrient solution speed germination. Seeds sit in damp cubes, and roots grow freely into the water below. This setup reduces disease risk from soil and paper, and it offers precise control over nutrients.
Meanwhile, hydro systems let you monitor pH and nutrient levels closely. Keep your reservoir at room temperature and change the solution weekly. That routine yields fast, uniform sprouting in most seed varieties, making it ideal for growers seeking consistency and speed.
Reviving Unresponsive Seeds
Pre-soak baths
A brief soak softens tough coats and kickstarts water absorption. Submerge seeds in clean, room-temperature water for 12 to 18 hours, then pour off the water. Avoid going past 24 hours, or seeds will drown rather than germinate. Soaking also leaches out growth inhibitors present on the seed coat.
After the bath, blot seeds on paper towels and return them to a fresh damp setup. You should see swelling or tiny cracks within two days. If not, proceed with a more mechanical approach to breach the seed coat without risking internal damage.
Scarification methods
Light abrasion makes a small opening in the shell so moisture dives straight to the embryo. Use fine-grit sandpaper or carefully nick the seed coat with a fingertip clipper. Make only a tiny scratch to avoid harming the internal tissue—precision matters to prevent embryo injury.
Once you finish, soak the nicked seed for about six hours before laying it in a damp towel. Check every 12 hours for signs of life, and transfer it immediately when you spot a white tip forming at the scratch site. That prompt move maximizes oxygen access and jump-starts root elongation.
Gentle heat mats
Low-wattage heat mats provide consistent warmth without burning seeds. Set the mat to 24 °C and rest towels on a thin board to spread heat evenly. That mild boost often revives seeds that sat too long in cold or dry spots and jump-starts metabolic activity.
Moreover, you can combine heat mats with humidity domes. The dome traps moisture, while the mat keeps temperature steady. Together, they create a mini greenhouse that pushes sluggish seeds into action, reducing lag time before radicle emergence.
Preventive Measures for Future Batches
Proper seed storage
Store seeds in a sealed glass jar with a desiccant packet, and place the jar in a refrigerator at around 4 °C. That cool, dry, and dark environment slows metabolic decay and preserves embryo health for up to two years, ensuring you have reliable stock when you need it.
In addition, label each jar with the pack date and strain name. Rotate your collection by using the oldest seeds first. Regular germination tests help you spot declining batches before they reach the planting stage, so you never waste time on low-viability seeds.
Fresh seed selection
Buy seeds with clear harvest and pack dates. Aim for batches no older than six months, and avoid clearance packs that lack date stamps. Fresh seeds carry more stored nutrients, which support the first days of root and shoot development with vigor.
Also, perform a quick float test before planting. Place seeds in water for two hours—those that sink usually contain dense, healthy embryos. Discard floating seeds, as they often house air pockets or internal damage, saving you time and resources in the long run.
Lab testing for viability
When you plan a large grow, a tetrazolium lab assay offers precise viability data. Labs stain living tissues red, so they flag nonviable seeds before you invest in a full run. High viability rates reduce waste in time and materials, improving overall yield consistency.
Moreover, lab testing helps breeders refine storage and breeding practices. If you consistently see low germination in one strain, you can adjust drying or packaging protocols with data-driven feedback. That cycle of testing and refinement elevates overall seed quality over time.
FAQs about cannabis seeds not germinating in paper towel
How long should I wait before discarding a seed?
Wait up to fourteen days under optimal warmth and moisture before discarding. Germination often appears within three to seven days. If a seed shows no split or root tip after ten days, transfer it to fresh towels or try a different method. After two full weeks without progress, odds drop so low that planting becomes a gamble, so it’s wiser to start anew.
Can I transfer a wet seed directly to soil?
You can plant a damp seed into loose soil once the shell splits. Handle it gently to avoid bending the radicle. Slide it tip-down about 1 cm deep, cover lightly, and mist the surface. Keep soil moist but avoid puddles that drown the tiny root, and protect the seedling from light drafts.
Do I need to change towel type?
Only switch materials if your current towels trap too much water or contain additives. Choose unbleached, lint-free paper towels without fragrances or dyes. Washed cotton fabric also works well. The key is a material that holds moisture evenly and releases it gently to the seed, promoting consistent germination.