Room and Space Setup
Tent vs. Dedicated Room
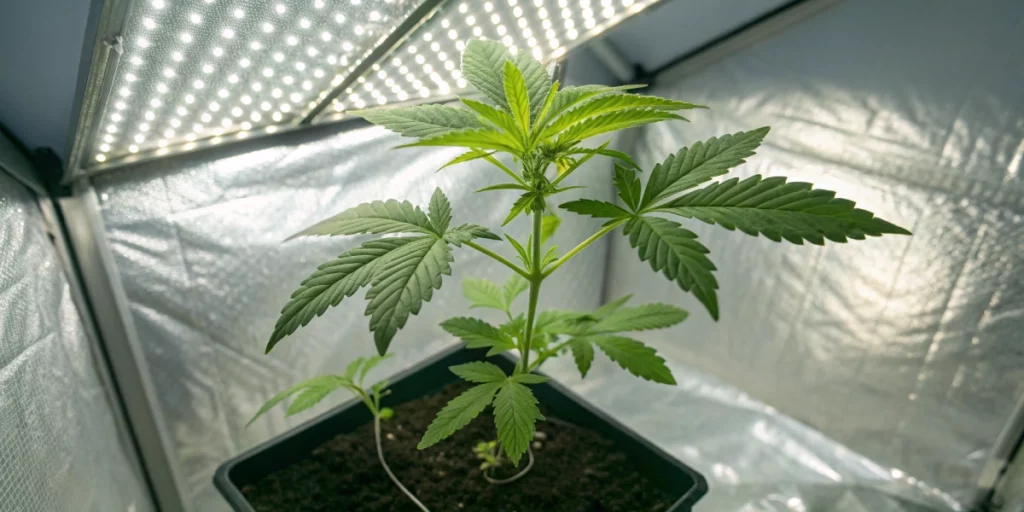
Choosing a grow tent offers flexibility and ease of setup for a compact garden. It contains light leaks and helps maintain consistent temperature. Many growers start with a tent because it shields plants and simplifies ventilation installation. Moreover, tents fit into spare spaces like closets or garages without major renovations.
A dedicated room demands more initial work but gives extra headroom and customization options. You can install sturdy shelving, hook up bulk air filters, and adjust lighting height freely. This setup suits serious cultivators aiming to expand later. However, it costs more and requires careful planning to avoid odors and moisture issues.
Recommended Strains
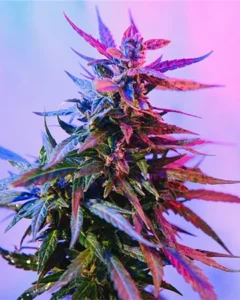
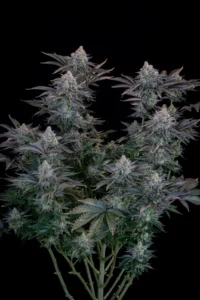
Granddaddy Purple FEM
|
|
THC | 20% - 21% (Medium) |
|
|
Lineage | Purple Urkle x Big Bud |
|
|
Type | Feminized |
|
|
Height | 5.25 ft | 1.6 m |
|
|
Yield | Medium |
|
|
Yield Indoor | 1.31 oz/ft² | 400 g/m² |
|
|
Yield Outdoor | 17.64 oz/plant | 500 g/plant |
|
|
Flowering Time | 7 - 8 weeks |
|
|
Phenotype | 90% Indica / 10% Sativa |
|
|
Effects | Euphoric, Relaxed, Sleepy |
|
|
Flavors | Berry, Grape, Sweet |
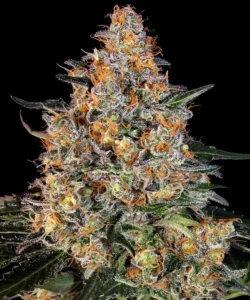
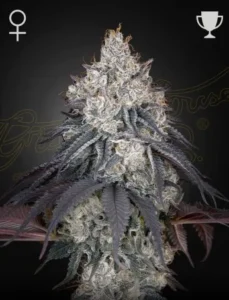
Bubba Kush Strain
|
|
THC | 29% - 30% (High) |
|
|
Lineage | Afghan Kush Landrace x OG Kush |
|
|
Type | Feminized |
|
|
Height | 5.74 ft | 1.75 m |
|
|
Yield Outdoor | 52.91 oz/plant | 1500 g/plant |
|
|
Flowering Time | 8 - 9 weeks |
|
|
Phenotype | 70% Indica / 30% Sativa |
|
|
Effects | Euphoric, Relaxed, Calming |
|
|
Flavors | Hashish, Sweet, Earthy, Spicy |
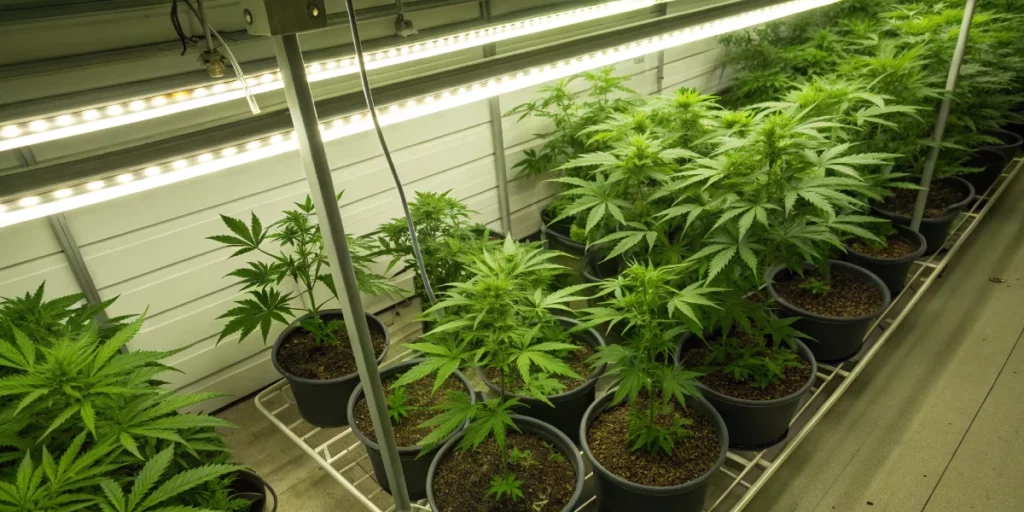
Light Placement Strategies
Position lights close enough to seedlings so they stretch toward energy rather than reaching for ambient glow. Aim for about 24–36 inches above the canopy when using high-output LEDs. This distance drives robust leaf growth and prevents light burn. Furthermore, adjust hangers so you can raise lamps as plants grow.
Rotate fixtures every few days if your hood doesn’t cover the entire canopy. This tactic keeps lower leaves lit and reduces shadow zones. In addition, consider using reflective materials like mylar or white paint on walls to bounce extra photons back. As a result, you’ll boost efficiency and yield more usable light per watt.
Airflow and Ventilation
Healthy airflow sweeps away excess heat and strengthens stems by mimicking outdoor breezes. Install an oscillating fan at canopy height to induce gentle movement. Poor circulation invites mold and pest hotspots, especially in dense foliage. Therefore, point the fan so air moves across plants, not directly into them.
An exhaust fan with a carbon filter clears stale air and neutralizes odors before it exits your space. Place it at the highest point because heat rises. Intake vents or passive holes near the floor let fresh air flow in, replacing used air. This air exchange promotes consistent CO₂ levels and stable temperatures.
Germination to Transplant
Seed Starting Mediums
Peat pellets or coco coir cubes support seedlings by holding moisture evenly around fragile roots. Plant seeds about half an inch deep and keep the medium damp but not soaked. Too much water can drown sprouts, while dryness halts germination. Use a spray bottle to mist lightly and maintain a humid dome if possible.
Alternatively, sterile seed-starting mixes combine perlite, vermiculite, and peat moss for oxygen-rich soil. These blends minimize disease risk and give roots plenty of air. You can transplant directly into larger pots without shocking roots. As a tip, check pH levels: aim for 5.8–6.2 to avoid nutrient lockout.
Transplant Timing
Transplant seedlings once they show two sets of true leaves. At this stage, roots have branched enough to handle more space and nutrients. Gently lift the square cube or soil plug and place it into a pot at least three inches wide. Firm soil around the base and water until it trickles from the drainage holes.
Delaying this step invites root-bound stress that stunts growth. Watch for roots circling container walls—this signals it’s time to move up. When you transplant at the right moment, plants adjust faster and enter the vegetative stage in peak health. Quick transitions sustain momentum and encourage sturdy development.
Root Health Checks
Inspect roots when repotting by easing soil around the edge of the pot. Healthy roots appear white or light tan, while dark or slimy roots hint at rot. If you spot decaying strands, rinse gently under pH-balanced water and trim the worst sections. Then dip the trimmed root ends in beneficial microbes to jump-start recovery.
Employ root-boosting supplements like humic acids or mycorrhizae during transplant to nourish root hairs. These additives enhance nutrient uptake and speed early growth. Keep the root zone warm—around 21–24 °C—to support microbial life and enzyme activity. Consequently, your seedlings face fewer setbacks and grow vigorously.
Vegetative Growth Stage
Lighting Schedules
During the vegetative phase, a schedule of 18 hours light and 6 hours darkness typically performs best. This cycle simulates long summer days and promotes leaf and branch expansion. Use a timer to switch lights at the same times each day, ensuring consistent rhythm. Plants adapt faster to stable schedules, so avoid frequent changes.
If you aim for compact plants, you can shorten the light period to 16/8 or even 15/9. However, reducing light hours may slow growth rates slightly. Always maintain total darkness during the night period—light leaks can confuse photoreceptors and trigger unwanted flowering hormones prematurely.
Nutrient Ratios
In vegetative growth, focus on higher nitrogen levels to drive leafy expansion. A common N-P-K ratio is 3-1-2, but formulas vary by brand. Check labels and start with half the recommended dose to gauge plant response. Overfeeding causes nutrient burn, visible as browning leaf edges.
Adjust pH in your reservoir to 6.0–6.5 when using soil, or 5.5–6.0 for hydroponics. This range maximizes nutrient availability in the root zone. Test runoff pH weekly and correct any drift. By feeding smartly, you maintain lush canopies and minimize deficiencies.
Training Methods
Topping and fiming create multiple main colas by cutting the top node when plants have at least five nodes. These techniques boost yields by redistributing energy across more bud sites. Pinch off just above the second or third node to shape growth evenly.
Low-stress training uses soft ties to bend branches horizontally, exposing inner nodes to light. This method avoids shock and accelerates lateral growth. As a result, you get a flatter canopy that captures more photons. Combine these tactics for a dense, uniform structure optimized for your light setup.
Flowering Stage Management
Light Cycle Shift
Switch to a 12/12 schedule to trigger flowering after your plants reach desired height. This change replicates autumn daylight patterns and activates bud-forming hormones. Set timers precisely; even a single hour of extra light can revert to vegetative growth or cause hermaphroditism.
Monitor plants closely during the first two weeks of bloom. They enter pre-flowering, developing pistils at node sites. Keep light pollution out of the space during dark cycles by sealing vents and blacking out windows. This attention to timing ensures a smooth, uninterrupted bloom period.
Feeding Adjustments
As flowers form, lower nitrogen and boost phosphorus and potassium to support bud development. A bloom-specific nutrient mix often has an N-P-K ratio of 1-3-2 or 1-4-3. Begin feeding bloom nutrients one week after the light shift and ramp up over two weeks.
Flush with plain pH-balanced water every three to four feedings to prevent salt buildup. Watch trichome development and leaf color to tweak feed strength. If you spot yellowing beyond normal senescence, cut back on dosage and observe reactions before resuming full strength.
Humidity and Temperature Control
During early bloom, aim for 50–60% relative humidity to fend off bud rot and mildew. Lower humidity gradually to 40–50% as flowers swell in late bloom. Use a dehumidifier or humidifier to dial in precise levels and monitor with a digital hygrometer.
Temperature should hover between 20–25 °C when lights are on and dip slightly to 18–20 °C during dark periods. Cooler nights enhance trichome production and color development. Fans and exhaust systems must handle extra moisture load without creating cold drafts that shock plants.
Harvest and Post-Harvest
Flushing Protocol
Flush plants with plain pH-balanced water in the final 7–14 days before harvest. This purge uses up remaining stored nutrients and improves smoke quality by reducing harsh chemical residues. Begin flushing when you spot 20–30% amber trichomes under a magnifier.
Ensure runoff pH stays between 6.0–6.5 to avoid stressing roots. Continue your normal light cycle but cut back on feeding until harvest. As plant leaves yellow and die back, they indicate nutrient depletion and readiness. Proper flushing yields smoother flavors and cleaner burns.
Trimming Techniques
Wet trimming involves removing fan leaves and trimming sugar leaves immediately after cutting branches. This method dries buds faster and reduces mold risk because airflow increases between colas. It also gives your final product a tidy, professional look.
Dry trimming means hanging entire branches to dry before cutting leaves. This approach slows drying, preserving terpenes and delicate aromas. Choose your method based on space and humidity control. Either way, use sharp shears and work methodically to avoid damaging sticky buds.
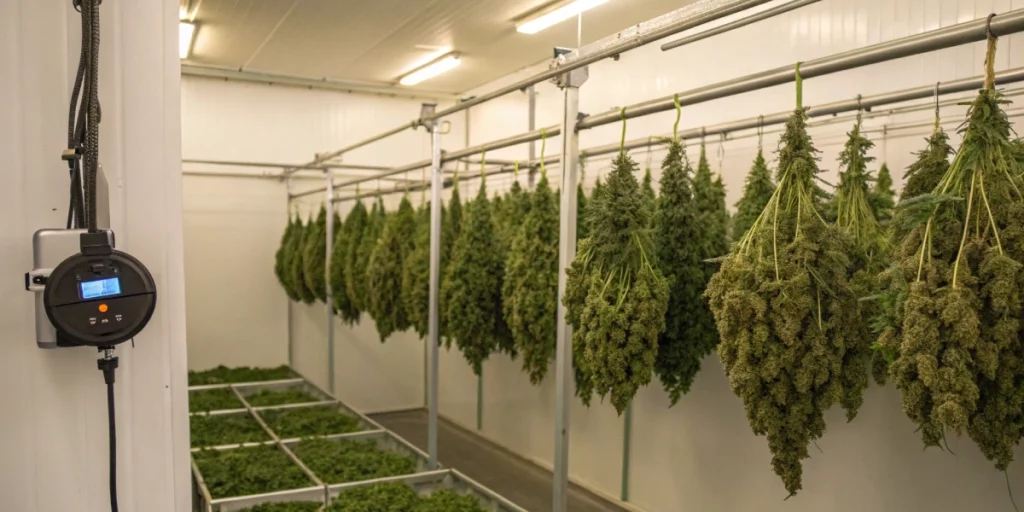
Drying Room Setup
Hang trimmed branches upside down in a dark room with 45–55% humidity and 18–21 °C temperature. These conditions allow buds to dry slowly over 7–10 days and lock in terpenes. Keep gentle airflow without pointing fans directly at buds to prevent over-drying outer layers.
After stems snap instead of bend, move buds to jars for curing. Use airtight containers and burp daily to release moisture. Proper drying and curing enhance aroma, flavor, and potency. This final step transforms fresh flowers into high-quality cannabis.
FAQs about growing cannabis from seeds indoors
What’s the ideal light spectrum for seedlings?
Seedlings thrive under a spectrum rich in blue light around 6500K. This spectrum encourages compact, sturdy growth and prevents leggy seedlings. Many LED or CFL bulbs offer a “grow” setting that matches this output, supporting early photosynthesis and healthy leaf formation.
How often should I water young plants?
Water young plants when the top inch of soil feels dry to the touch. Overwatering can suffocate roots and stunt growth, while underwatering stresses cells. Lightly saturate the root zone until water drains out, then wait for soil to dry before watering again.
When do I switch to flowering lights?
Switch to a 12-hour light and 12-hour dark cycle when plants reach half your room height. This timing gives enough vertical growth room for mature flowers. Adjust lights precisely; a single hour of extra light can delay or disrupt bloom hormone signals.