Lifespan Snapshot
Expected Longevity
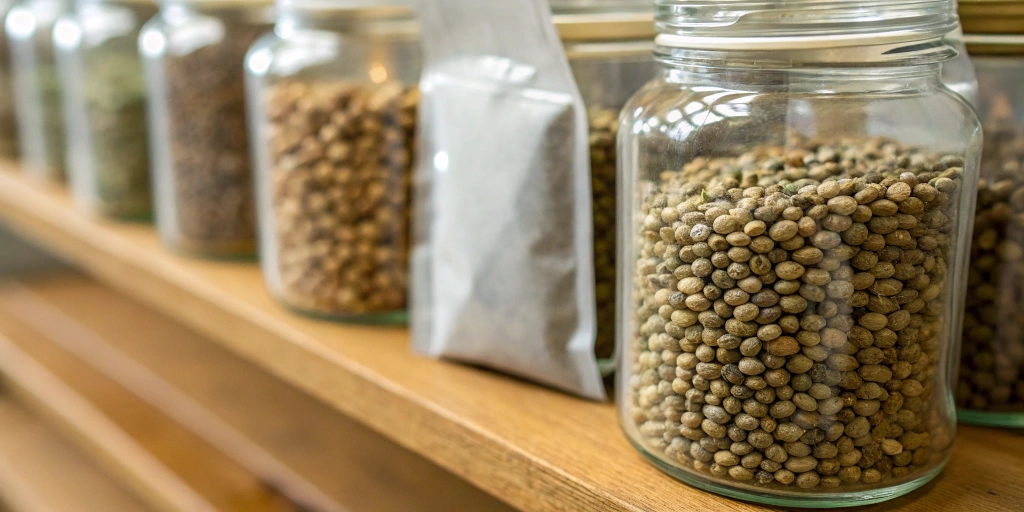
Seed viability depends on genetics and storage choices. Most fresh seeds deliver strong germ rates during the first twelve months after harvest. During this stage, they offer predictable performance and healthy sprouting. For growers who wonder how long do cannabis seeds last, this initial year serves as a benchmark. Proper drying and airtight packaging help seeds cross this threshold intact. In fact, seeds rarely lose viability under stable conditions in this early window. Keep humidity low and temperature moderate to preserve quality.
After one year, viability declines gradually. You might still see acceptable germ rates in the second season if you stored seeds right. However, you may notice slight drops in sprout vigor. Cold storage and low humidity extend this phase. Many growers maintain viability up to two years under ideal conditions. Beyond that mark, perform germ tests regularly. This practice keeps you aware of changing performance and prevents wasted effort on weak seeds.
Recommended Strains
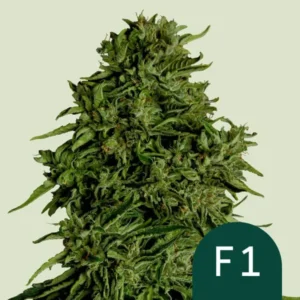
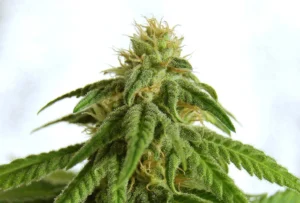
Cosmos F1 CBD
|
|
CBD | 19% – 20% (Medium) |
|
|
Lineage | CBD Oregon |
|
|
Type | CBD Autoflowering |
|
|
Height | 3.28 ft | 1 m |
|
|
Yield | Low |
|
|
Yield Indoor | 0.98 - 1.31 oz/ft² | 300 - 400 g/m² |
|
|
Yield Outdoor | 7.05 - 8.82 oz/plant | 200 - 250 g/plant |
|
|
Life Cycle | 9 - 10 weeks |
|
|
Phenotype | 20% Indica / 60% Sativa / 20% Ruderalis |
|
|
Effects | Focused, Calming |
|
|
Flavors | Cookie, Pepper, Pine |
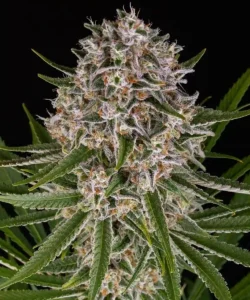
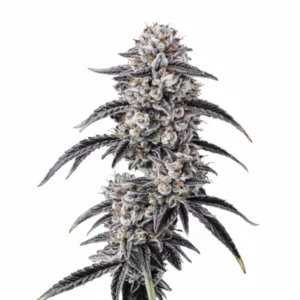
Gmo Auto
|
|
THC | 24% - 25% (High) |
|
|
Lineage | OGM x BF Super Auto #1 |
|
|
Type | Autoflowering |
|
|
Height | 4.27 ft | 1.3 m |
|
|
Yield | High |
|
|
Yield Indoor | 1.64 - 1.97 oz/ft² | 500 - 600 g/m² |
|
|
Yield Outdoor | 7.05 - 10.58 oz/plant | 200 - 300 g/plant |
|
|
Life Cycle | 10 - 11 weeks |
|
|
Phenotype | 80% Indica / 20% Sativa |
|
|
Effects | Euphoric, Uplifted, Relaxed, Focused |
|
|
Flavors | Spicy, Garlic, Diesel, Sweet, Earthy |
Peak Viability Period
Seeds reach peak potential when they rest under cool and dry conditions. Typically, this prime window lasts from three months to eighteen months post harvest. During this span, sprouts emerge quickly and resist rot or mold. Many cultivators count this period as the best time to start new plants. By storing seeds in sealed jars with desiccants, you keep moisture away and maintain this optimal phase. Aim to use seeds within this period for consistent yields.
Temperature control plays a key part in maintaining peak state. Store seeds between two and six degrees Celsius in a refrigerator or cellar. Avoid freezing unless you apply vacuum sealing and protect seeds from moisture. Too much fluctuation in temperature forces seeds to adapt and can reduce vigor. Experienced growers note top germ rates when they handle seeds gently and minimize container openings during this crucial time window.
Decline Phases
After peak viability, seeds enter a decline phase where germ rates drop by five to ten percent each year. In this stage, seeds show slower germination and weaker roots. Lack of moisture control and exposure to heat accelerate this decay. Still, many seeds retain enough strength to sprout after two or three years if they stayed dry and cool. Plan ahead and rotate seed batches to avoid surprises during planting season.
Over long periods, lipids in cannabis seeds break down, and cell walls degrade. This process leads to reduced sprout vigor and smaller seedlings. You may notice increased rot or failed sprouts as seeds age beyond three years. To prevent this scenario, schedule germ tests every six months. That step helps you decide when to retire older lots. For best results, many growers follow the 3 4 2 for cannabis seeds rule storing seeds in optimal conditions for no more than 3 to 4 years, and using germination tests every 2 cycles. By doing so, you save time and avoid disappointment when seeds fail to perform.
Storage Influence
Cool vs. Cold Environments
Cooling seeds slows metabolism and reduces damage from moisture. A cellar or cool basement at ten to fifteen degrees Celsius offers a good start. Under these conditions, seeds lose moisture slowly and remain viable for over two years. Many growers without access to a fridge still achieve decent results. Place seeds in airtight jars or containers with desiccants to manage humidity and avoid mold growth.
Moving seeds into a refrigerator at four degrees Celsius further extends shelf life. Lower temperatures slow down lipid oxidation and biological processes. However, avoid freezer storage without proper protection. Ice crystals can form inside cells and kill many seeds. If you use a freezer, combine vacuum sealing with moisture control packs. Cold environments deliver longer storage, but you must prevent temperature swings and condensation.
Dry vs. Humid Conditions
Seeds stored in a low humidity environment maintain viability far better than those exposed to moisture. Aim for relative humidity below five percent inside storage containers. You can achieve this with silica gel or other packs. Regularly check desiccant color indicators and replace them as needed. Moisture sensors in jars help you monitor conditions without constant opening.
In contrast, humid conditions speed up seed aging. High humidity breaks down seed coats and triggers premature germination or mold. Even sealed containers fail if ambient humidity peaks above sixty percent. Always dry seeds properly before storage. Use moisture meters on harvested seeds to confirm safe levels. Preventing humidity spikes remains a top priority to protect seed health.
Airtight Packaging
Airtight lids on jars or canisters block moisture and air exchange. Oxygen also affects seed stability, so remove air before sealing. Vacuum sealing offers the best barrier against oxygen and water vapor. Many growers invest in small vacuum sealers for seed batches. This method keeps seeds in stasis and reduces molecular breakdown over time.
Glass jars with rubber gaskets also perform well if you combine them with desiccants. Make sure to avoid plastic bags, which allow slow moisture transfer. Metal tins deliver good results when you line them with desiccant packs. Mark each container with harvest date and strain to track age. Clear labels help you rotate stock and ensure you use seeds within their prime period.

Seed Age Indicators
Color Changes
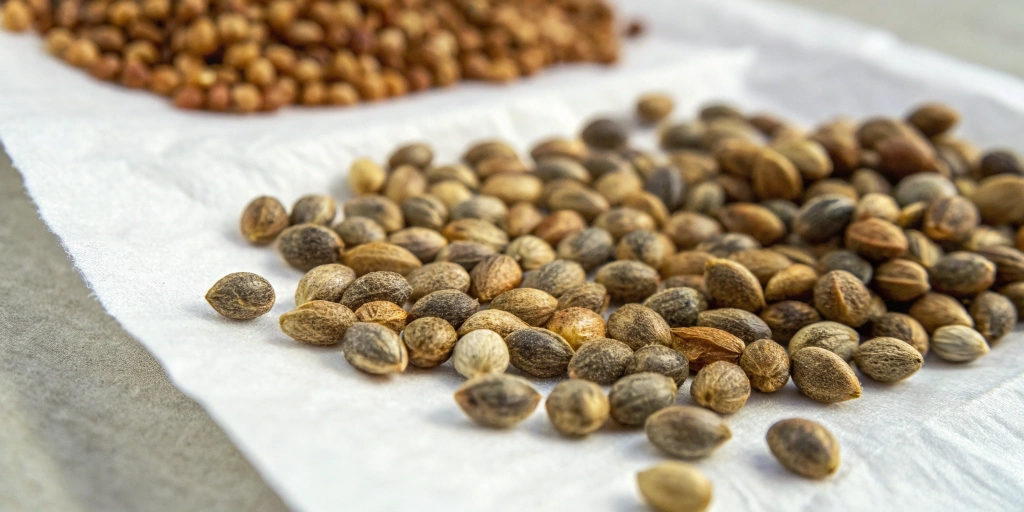
Seed color offers clues about age and maturity. Fresh, viable seeds display a rich brown or gray mottled pattern. As seeds age, they may turn pale yellow or show uniform dark brown. Those color shifts reflect pigment breakdown and moisture loss. While a few dark seeds still germinate, uniform color often signals lower viability.
Monitor changes by comparing seed batches over time. Lay samples on white paper under good light and note any shifts. Record color observations in a log for each storage container. When you spot consistent fading or darkening, schedule a germ test. By tracking these subtle changes, you invest in successful planting and avoid surprises at planting time.
Hardness Tests
Perform a gentle squeeze to gauge seed hardness. Viable seeds feel firm and resist slight pressure between thumb and forefinger. Soft or brittle seeds often lost moisture or suffered internal damage. Conduct this simple test before planting large batches. It helps you cull weak seeds and focus on those likely to germinate.
Another approach involves rolling seeds between fingertips. Seeds with intact coats produce a tactile feedback that feels smooth and solid. Rough or grainy shells may indicate age or pest damage. Always handle seeds gently and avoid excessive force. That practice ensures you only test for hardness without harming otherwise viable seeds.
Weight Loss
Seeds lose weight as they dry and age, reflecting moisture reduction. Weigh a sample of fresh seeds and record the average weight per seed. Repeat this process every six months to spot trends. A consistent drop in mass alerts you to moisture loss that could reduce germ rates. By quantifying weight changes, you gain a scientific way to decide when to retire older seeds.
Use a precision scale for reliable measurements. Some growers weigh batches of ten or twenty seeds and calculate averages. Ensure you handle seeds with tweezers or clean gloves to avoid adding oil or moisture. Track results in a spreadsheet or logbook. When weight loss passes a threshold, consider renewing seed stocks or conducting viability tests before planting.
Longevity Myths vs. Facts
Common Misconceptions
Many believe seeds remain viable indefinitely when stored correctly. While proper storage extends lifespan, no seed stays perfect forever. Germ rates drop over time, even in freezers. Relying on seeds over five years old often leads to lower yields and wasted space. Real growers test older batches before committing large plantings to avoid unexpected failures.
Another myth suggests dark seeds always outlast pale ones. In reality, color alone does not guarantee age or viability. Genetics influence seed coat patterns and hues more than age. Always combine color cues with germ trials. That practice offers a more accurate snapshot of seed health rather than relying on visuals alone.
Scientific Findings
Research shows that seed viability declines by roughly ten percent per year under cool dry storage. In controlled studies, seeds stored at two degrees Celsius and under five percent humidity retained over fifty percent germ rates after six years. These findings highlight the importance of precise storage conditions and regular testing to maintain healthy seed lots.
Studies also reveal that freezer storage without moisture control can kill seeds due to ice crystal formation. Researchers recommend vacuum sealing and desiccants for any cold storage beyond fridge levels. By following these protocols, growers can harness the benefits of low temperature while avoiding common pitfalls revealed by science.
Grower Experiences
Gardeners often share stories of seeds sprouting after ten years in perfect conditions. While these cases inspire confidence, they also represent rare outcomes. Most growers report steady declines in germ rates after four to five years. Community forums suggest testing small batches annually to avoid surprises during planting season.
Some cultivators pack seeds with rice or salt as DIY desiccants. Others swear by commercial silica gel. Personal accounts vary, but all emphasize the value of consistent humidity control and temperature stability. By learning from these real experiences, you can refine your own storage methods and avoid frequent regrets.
Maximizing Lifespan
Quick Cooling Methods
Rapid cooling after harvest prevents moisture from damaging seeds. Spread seeds in a single layer on trays and move them to a cool dry space quickly. Avoid direct airflow that can blow dust or pests onto seed coats. Gentle circulation helps remove residual heat without shocking seeds with sudden temperature drops.
Once seeds reach ambient cool temperature, transfer them to a refrigerator or cellar. Slow transitions minimize condensation and preserve seed integrity. Wrap containers in cloth or bubble wrap for extra insulation during transport. By controlling the cooling rate, you lock in moisture levels and protect seeds for long term storage.
Desiccant Renewal
Desiccant packs lose effectiveness as they absorb moisture. Check indicators on silica gel regularly and recharge or replace them when color changes. Some silica gel beads regenerate under low heat in an oven or dehydrator. Always cool packs before returning them to seed containers to avoid heating seeds accidentally.
For large seed collections, rotate desiccant packs seasonally. Keep a rotation schedule in a log and note pack replacements. That practice ensures that all seeds receive fresh moisture control. By renewing desiccants proactively, you prevent humidity spikes that can erode germ rates and shorten shelf life.
Regular Viability Checks
Perform germ tests every six months or after major storage changes. Place ten seeds on moist paper towels, cover them, and monitor sprouting over a week. Record germ rates and compare against previous tests. This feedback helps you decide which seeds to plant and which to retire, saving time during busy seasons.
Create a log for each batch, noting storage date, conditions, and test outcomes. Use simple spreadsheets or garden journals to track results. When you see germ rates dip below eighty percent, plan to renew or replace seeds. Regular checks act as a safety net, allowing you to catch declines before planting deadlines arrive.
FAQs about how long do cannabis seeds last
Is freezer storage always best?
While freezer storage can prolong seed lifespan by slowing metabolism, it works best when you combine vacuum sealing and desiccant packs. Without moisture control, ice crystals may form and damage cells inside seeds. For most home growers, a refrigerator set to four degrees Celsius offers a simpler solution. Always check seeds after removing them, rotate stocks regularly, and avoid frequent temperature swings to maintain viability.
Do older seeds yield weaker plants?
Even older seeds that germinate often produce healthy plants if they sprout successfully. However, aging can slow emergence and reduce initial vigor. Environmental conditions during growth, rather than seed age alone, influence final plant strength. By testing germ rates and culling unviable seeds, you can focus on strong starters. Many growers report negligible differences in yield when they use seeds under five years old with good viability.
How often should I test germ rates?
Aim to conduct germ tests every six months to monitor seed viability. More frequent checks make sense after any storage change, like moving seeds between environments. Use small batches of ten seeds and track sprout rates in a simple log. This routine helps you spot declines early and decide when to retire seeds. Regular testing avoids wasted efforts at planting time and ensures you start with strong starters.