Purpose of Soaking Seeds
Breaking Dormancy
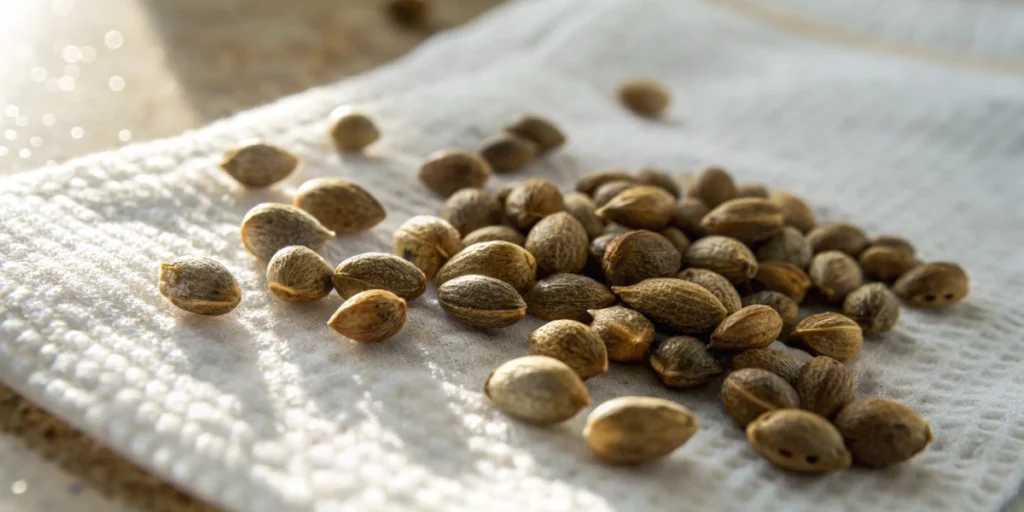
Soaking triggers a chain reaction that wakes dormant seeds. You submerge seeds in clean water to kickstart metabolic processes. Water penetrates internal tissues, activates enzymes, and fuels energy conversion. This process awakens cells that sat in stasis until moisture arrived. By offering a consistent aquatic environment, you eliminate barriers that delay growth. Seeds respond faster because they no longer wait for random soil moisture levels. This technique delivers predictable and uniform germination outcomes for every batch.
Soaking also helps you spot nonviable seeds early. When you drop seeds into water, those lacking internal reserves often sink or float differently. You can easily discard empty shells or hollow specimens that never absorb water properly. This quality check saves you time and resources by preventing poor sprouts in your grow cycle. You ensure that only seeds with full nutrient stores and intact structure proceed to sprouting stages, boosting overall crop success.
Softening Seed Coat
Cannabis seeds carry a hard outer shell that delays water uptake. You soften that barrier by immersing seeds in water at a gentle temperature. Moisture seeps into the coat, making it more permeable. As the shell swells, microscopic cracks form, allowing internal tissues to breathe. Seed coats that soften properly reduce mechanical stress on emerging roots and shoots. This controlled hydration protects the embryo from damage as it pushes against the weakened shell.
By easing seed coat rigidity, you achieve more uniform sprouting times. All seeds in a batch respond more consistently, which helps you plan transplanting and nutrient schedules. Soft shells shorten the period before radicle emergence, giving you an edge in timing. Consistent hydration also lowers the risk of fungal attack, as seeds spend less time in damp, vulnerable states without visible growth.
Speeding Up Germination
Immersing seeds accelerates early growth stages. You eliminate the soaking gap that often occurs when seeds rest beneath dry soil. Instead, seeds start converting stored food into growth energy immediately. This jump-start can shave days off overall germination time. Faster germination allows you to detect vigor early and move strong sprouts to optimal environments sooner.
You also reduce the need for guesswork. When you sow dry seeds directly, you wait for signs of life in the soil. Those signs can vary widely depending on moisture distribution and temperature. Soaking gives you a controlled environment where every seed swells at roughly the same rate. This reliability translates to more predictable timelines and fewer stalled seeds in early stages.
Recommended Soak Durations
Minimum Timeframe
A minimum of four hours often yields visible swelling for most seeds. This period allows water to penetrate the seed coat and initiate enzyme activation. You’ll notice slight size increase and softer texture. Anything less risks incomplete hydration that may slow or halt embryo development. Aim for a short soak at room temperature to kickstart growth without risking oxygen deprivation or overhydration.
Short soaks suit seeds that already show signs of high viability, such as recent harvest or professional grade. If seeds appear fresh and robust, you can stick to this lower limit. Always monitor water clarity and seed appearance. If water remains clear and seeds show firmness, remove them promptly. This approach prevents excess moisture that could damage young tissues.
Maximum Safe Limits
You should avoid soaking seeds longer than 24 hours. Extended submersion risks oxygen deprivation in internal cells, which can cause rot or fungal growth. After a full day, seeds may exhaust stored energy without sending cannabis out a radicle. At that point, they become more vulnerable to pathogens. Keep soaks under this limit to ensure healthy embryo development.
Longer soaks rarely improve germination rates. Instead, you expose seeds to stagnant conditions that favor harmful microbes. If you don’t see signs of cracking or a white tip after 24 hours, it often indicates low viability. In those cases, switch strategies: try a paper towel method or plant directly and hope for the best.
Ideal Average Time
Most growers find that 12 hours provides a balanced window. This mid-range target gives seeds enough hydration without overextending their tolerances. You get soft coats, active enzymes, and initial cracking without risking decay. Since water remains reasonably fresh, you maintain oxygen supply and reduce microbial threats.
Scheduling a soak overnight often fits modern routines. You start in the evening, let seeds rest through the night, and plant the next morning. This timing aligns well with work or sleep schedules. By the time you wake up, seeds sit primed for planting, saving you precious daylight hours.
Variables Affecting Soak Time
Water Temperature
Temperature plays a vital part in hydration speed. Warm water around 20–25 °C encourages faster absorption and enzyme activation. You’ll see swelling sooner and often get radicle emergence within the soak period. However, avoid hotter water that can damage sensitive tissues. Always measure and adjust to maintain an even temperature.
Colder water slows down metabolic processes and extends soak requirements. If you soak at 15 °C or below, plan on closer to 16–18 hours to achieve results similar to those in warmer setups. Cold water can also inhibit germination enzymes, so ensure you don’t dip below safe minimums.
Seed Age and Viability
Fresh seeds tend to absorb water more readily than older ones. You may soak recently harvested seeds for just six to eight hours to achieve cracking. Conversely, seeds stored for extended periods may require up to 18 hours. You’ll need to watch closely for signs of softening without exceeding safe limits.
High-quality seeds from reputable suppliers often require less soak time. Their internal tissues remain robust and primed for growth. Older seeds or those stored in suboptimal conditions sometimes take extra time to rehydrate. Always test a small batch first to calibrate your routine.
Pre-Soak Conditions
If seeds remain dry and cold before soaking, they resist moisture uptake initially. Bring them to room temperature and handle them gently for uniform results. Seeds chilled from a refrigerator or freezer will need extra hours. Warm them gradually to avoid shock and cracking too quickly.
Seeds that dry out repeatedly during storage develop microfractures that can reduce soaking efficiency. Handle all seeds with care and store them in airtight containers with humidity control. Well-preserved seeds respond predictably, so you avoid lengthy trial-and-error sessions.
Signs You’ve Soaked Long Enough
Seed Coat Cracking
Once seeds display small cracks along their shell, you know they reach the threshold for planting. These fractures appear when internal pressure from absorbed water overcomes outer layers. You’ll notice fine fissures that often spread around the equator of the seed. Plant immediately once you see these cracks to prevent drying out.
Cracking serves as a clear indicator that internal enzymes have activated. At this stage, the embryo stands ready to emerge. Don’t wait for large pieces of shell to break away; a few tiny cracks suffice. Planting too early risks damage from incomplete hydration, while planting too late introduces rot.
Tiny Root Emergence
The appearance of a white taproot tip signals that seeds completed their germination sequence in water. This breakthrough usually follows a crack by a few hours. You can plant as soon as the radicle reaches 2–3 mm in length. Longer exposure in water can damage fragile tips, so transfer quickly.
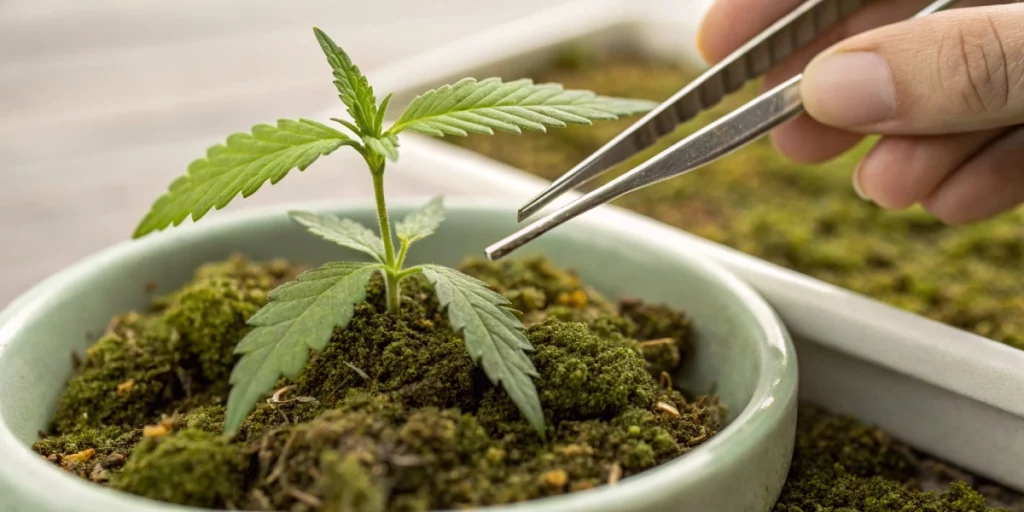
This sign proves that the seed’s internal machinery functions properly. You’ll see root hairs forming as the radicle extends. Use tweezers or clean fingers to handle seeds gently. Ensure you don’t break off those fine hairs when moving seeds to soil or a growth medium.
Water Cloudiness
Murky or cloudy soak water often indicates microbial growth or dissolved seed contents leaking out. A slight haze after 12 hours can occur as seeds release pellicle residues, but heavy cloudiness suggests bacterial or fungal proliferation. If cloudiness spikes, you need to rinse seeds and refresh water or end the soak early.
Clear water that holds slight sediment without foul odors usually remains safe. Always rely on cracking and root appearance rather than cloudiness alone. If you detect an off smell, discard that batch to avoid introducing pathogens into your grow medium.
After-Soak Handling
Transferring to Medium
Lift seeds carefully onto a damp paper towel, rock wool cube, or directly into soil. Position the crack and root facing downward to guide directional growth. Cover lightly with substrate or keep them in a moist environment until they anchor. Avoid deep planting that starves sprouts of light and airflow.
Prepare a hatching tray or small pots pre-moistened but not waterlogged. Your medium should cradle the seed without compressing it. This prevents radial stress on emerging roots. Check humidity levels and keep the environment stable until you see cotyledon leaves.
Avoiding Shock
Sudden changes in moisture or temperature can slow growth. After soaking, seeds expect a reasonably consistent environment. If you move them from a warm soak to cool soil, they may stall. Always match soil temperature to soak temperature to maintain momentum.
Introduce gentle airflow and indirect light rather than blasting sprouts under intense lamps or fans. Seedlings hate rapid shifts. Maintain around 70–75 °F and 70–80 percent relative humidity for their first 24 hours in the medium. This balance eases them into their new setting.
Immediate Care
Watch for mold or damping-off signs during the first days. Keep lids and humidity domes cracked open to allow air exchange. If you use a dome, open vents gradually over two days. Too much moisture trapped around delicate sprouts can lead to fungal issues.
Feed lightly once the first leaves form, using a diluted nutrient solution. Young roots struggle with concentrated feeds. Start with one-quarter strength and ramp up as plants develop true leaves. This gentle introduction helps roots adapt after the soak.
FAQs about how long to soak cannabis seeds
Can I soak overnight?
You can soak seeds overnight if you aim for 10 to 14 hours of hydration. That window fits most routines and yields ready-to-plant seeds by morning. Place seeds in filtered water at room temperature, cover them, and leave them on a stable surface overnight. Check for cracking or slight root emergence before planting to ensure optimal conditions.
What if they over-soak?
If seeds remain submerged past 24 hours, you risk rot and reduced viability. Remove seeds promptly once you spot cracking or radicle tips. Rinse them in fresh water, then transfer to a paper towel or directly into soil. Discard any seeds that turn brown or emit foul odors.
Does colder water need longer soak?
Yes, lower temperatures slow enzyme activity and water absorption. If you soak at 15 °C or below, extend your soak to 14–18 hours. Always monitor for cracks or a radicle tip rather than relying solely on timing. Give seeds that extra time they need to wake up fully.