Essential Storage Conditions
Temperature Targets
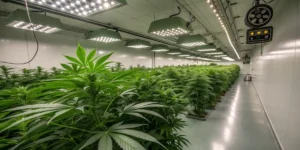
Maintaining a stable, cool environment ensures seeds stay dormant and ready for planting. Aim for a consistent temperature between 4 °C and 8 °C (39 °F to 46 °F). This range slows metabolic activity without risking cell damage. A small refrigerator dedicated to seed storage works best. Avoid frost-free models, as their automatic warm cycles can stress seeds. Instead, choose a manual-defrost unit and monitor temperatures closely. Additionally, keep your storage isolated from kitchen heat sources to prevent fluctuations when you open the door.
Place an accurate thermometer or digital probe inside each storage container, not just in the fridge. Check readings daily at the same time to catch any deviations early. If the temperature drifts above 10 °C or below 3 °C, adjust the thermostat or relocate the containers immediately. Consistency remains key: even brief excursions can trigger aging processes that reduce germination rates over time. Moreover, track your temperature readings in a simple log to spot patterns and troubleshoot equipment issues quickly.
Recommended Strains
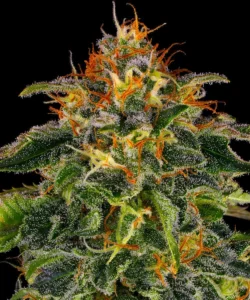
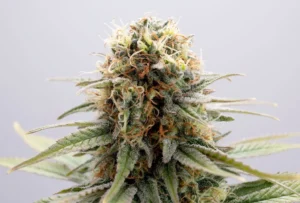
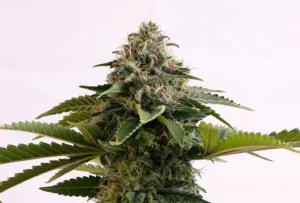
Moby Dick Strain
|
|
THC | 27% - 28% (High) |
|
|
Lineage | G13 HAZE x WHITE WIDOW |
|
|
Type | Feminized |
|
|
Height | 9.84 ft | 3 m |
|
|
Yield Outdoor | 52.91 - 70.55 oz/plant | 1500 - 2000 g/plant |
|
|
Flowering Time | 9 - 10 weeks |
|
|
Phenotype | 20% Indica / 80% Sativa |
|
|
Effects | Creative, Energetic, Euphoric |
|
|
Flavors | Citrus, Spicy, Pine, Vanilla |
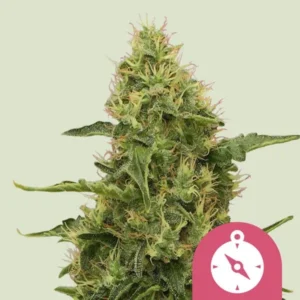
Amnesia Dream XL Auto
|
|
THC | 17% - 18% (Medium) |
|
|
Lineage | Amnesia Auto x Amnesia Haze |
|
|
Type | Autoflowering |
|
|
Height | 4.27 ft | 1.3 m |
|
|
Yield | Low |
|
|
Yield Indoor | 1.15 - 1.31 oz/ft² | 350 - 400 g/m² |
|
|
Yield Outdoor | 7.05 - 10.58 oz/plant | 200 - 300 g/plant |
|
|
Life Cycle | 10 - 11 weeks |
|
|
Phenotype | 30% Indica / 70% Sativa |
|
|
Effects | Energetic |
|
|
Flavors | Citrus, Earthy |
Humidity Ranges
Keeping relative humidity between 20 % and 30 % prevents mold without desiccating seed embryos. High moisture encourages fungal growth, while overly dry air can cause cracks in the seed coat. Use a small digital hygrometer inside every jar or bag. Place it beside the seeds rather than on top of them to get the most accurate reading of the container’s microclimate. In addition, calibrate your hygrometer periodically to ensure its accuracy over months of use.
To stabilize moisture levels, include a calibrated humidity pack rated at 25 % RH inside each container. These packs absorb or release water vapor to maintain the target humidity. Replace them every four to six months so performance doesn’t decline. Always open seed containers in a low-humidity room to avoid sudden moisture spikes that can compromise long-term storage. Furthermore, avoid humid basements or bathrooms when retrieving seeds to keep the internal environment steady.
Light Protection
Light, especially UV rays, can degrade seed reserves and reduce viability over time. Store seeds in opaque or tinted containers—amber or cobalt blue glass jars work well. If you only have clear jars, wrap them tightly in light-blocking film or store them inside a sealed metal tin. This shields seeds from both visible and ultraviolet light. Additionally, label wrappers to remember which jars they cover.
Keep containers in a dark cupboard or drawer away from any direct or indirect light sources. Avoid placing seed storage near windows, under bright fluorescent lights, or close to lamps that switch on frequently. Even brief exposure to bright light can trigger premature metabolic changes inside seeds, so err on the side of complete darkness. Moreover, reduce room lighting when you access your seed bank to minimize accidental exposure.
Packaging Solutions
Glass vs. Plastic
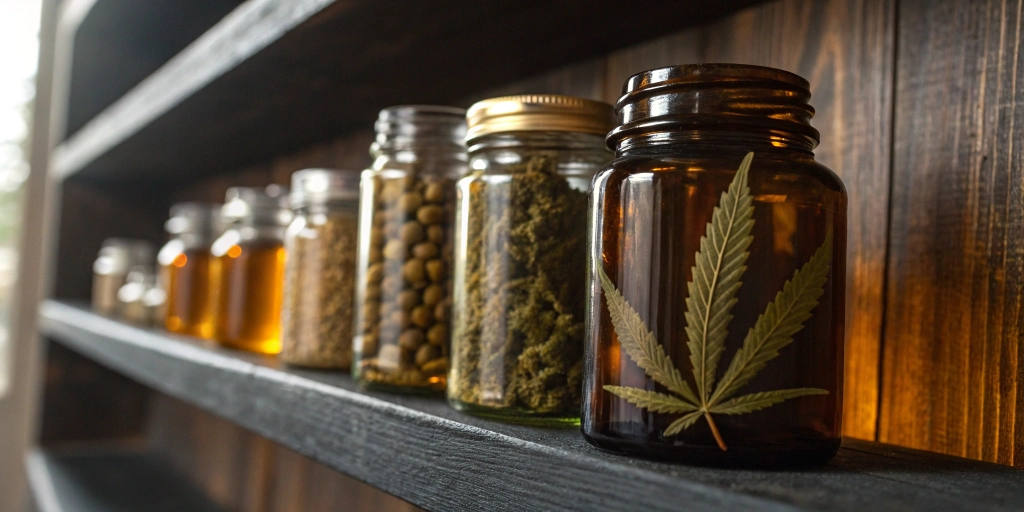
Glass jars provide a chemically inert environment that won’t leach compounds into seeds, even over years of storage. Opt for amber or colored glass for extra light protection. Make sure lids have food-grade silicone gaskets to guarantee an airtight seal that keeps moisture and oxygen out. Furthermore, clean your jars thoroughly with alcohol before each use to avoid cross-contamination between strains.
Plastic containers can work if you choose high-density, food-safe options designed for long-term archiving. Avoid thin, cheap plastics that may warp or allow gas exchange. Inspect plastic lids for fit each time you use them, and replace any showing signs of wear. If you notice odors or visible condensation inside a plastic container, switch to glass immediately. Also, keep plastic away from heat sources to avoid off-gassing of harmful chemicals.
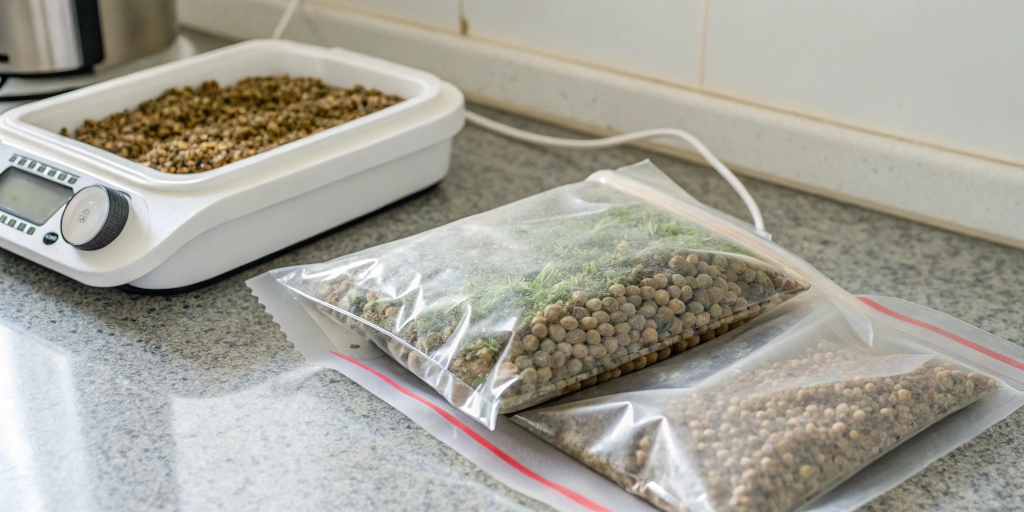
Vacuum Sealing
Vacuum sealing removes nearly all air, greatly slowing oxidation and moisture-related damage. Use small vacuum bags designed for seeds or herbs, sealing each only after double-checking label information. This creates a secure barrier against both oxygen and humidity. Additionally, store your vacuum-sealed bags inside a rigid box or jar to protect them from accidental punctures.
Before sealing, place a desiccant packet inside each bag to mop up stray moisture. After vacuuming, store sealed pouches inside a sturdy container to prevent punctures under weight. Label each package clearly with strain name, harvest date, and batch number. This method can extend viability for many years by limiting all factors that cause degradation. Moreover, vacuum sealing fits neatly into limited storage space and adds physical protection.
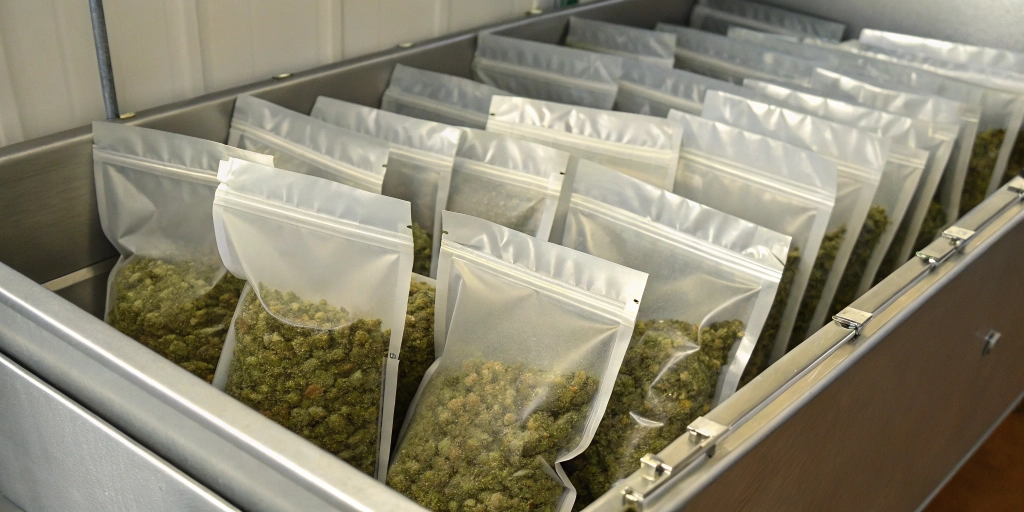
Mylar and Foil
Mylar bags combine flexibility with excellent light-blocking properties. Choose bags rated for long-term food storage and include a desiccant packet. Heat-seal the opening or use a strong adhesive strip to ensure a tight closure that won’t fail over time. In addition, store Mylar pouches upright to avoid desiccant shifting and touching seeds directly.
If Mylar isn’t available, multilayer aluminum foil pouches work nearly as well. Fold each pouch multiple times at the opening, then seal with heat or high-grade tape. Always include a desiccant packet, and place foil pouches inside a secondary, impact-resistant container. This double-layer approach protects seeds from moisture, light, and physical jostling during transport or storage. Also, label the outer container to track contents without unwrapping.
Desiccant Choices
Silica Gel Benefits
Silica gel packs excel at maintaining low humidity by absorbing moisture until fully saturated. Reusable, color-indicating packs show when it’s time for reactivation—typically by baking at low heat. This lets you cycle packs through storage setups without constant replacement, saving both money and resources. Furthermore, store your desiccants separately in a resealable bag when not in use to keep them fresh.
Place one small pack in each seed container, ensuring it doesn’t touch the seeds directly. Check color indicators every one to two months, depending on ambient conditions. If a pack turns pink or orange, follow manufacturer instructions to regenerate it. Consistent monitoring prevents mold and keeps seeds in prime condition. Additionally, stock extra packs so you can swap them quickly whenever humidity creeps above 30 %.
Natural Alternatives
Rice grains or powdered milk can serve as makeshift desiccants in a pinch. Seal them in a small, breathable pouch and keep it separate from seeds to avoid direct contact that could introduce contaminants. These options work short-term but lack precise humidity control, so inspect containers more often. Moreover, change these pouches every two to four weeks to avoid moisture buildup.
Calcium chloride packets boast high absorption rates but can irritate skin and lungs. Always enclose them in a rigid pouch and label clearly with a hazard warning. Replace these packs every four to six weeks to maintain low humidity. While natural alternatives cost less initially, they demand closer attention and more frequent swapping. Also, handle them with gloves and avoid breathing in the dust.
Replacement Frequency
Desiccant lifespan varies by type and environmental conditions. Silica gel generally lasts three to six months before it stops absorbing effectively. Natural options like rice or calcium chloride need swapping every four to six weeks to avoid moisture build-up. Track replacement dates in your log to prevent accidental mold outbreaks.
Set a schedule to inspect packs at least monthly. Keep spare desiccants on hand so you can replace them immediately if humidity drifts above 35 % RH. Consistent replacement prevents unexpected mold outbreaks and ensures seeds remain in excellent condition. In addition, rotate older desiccant packs into storage for testing to gauge their remaining capacity.
Organizational Tips
Clear Labeling
Accurate labeling prevents mix-ups and saves time when selecting seeds for planting. Use waterproof labels and permanent ink to record strain name, harvest or purchase date, and batch number. Place labels on the side of each container for easy reading without opening it. Furthermore, include a brief code for internal notes like expected germination rate.
Include a brief note on any special characteristics—such as feminized, autoflower, or high-THC traits. This extra detail helps you choose the right seeds for specific growing conditions. Maintain a master log that mirrors your labels so you can cross-reference at a glance. Also, archive old label sheets digitally in case you need to revisit past selections.
Batch Rotation
Follow a “first-in, first-out” approach to prevent older seeds from lingering unused. Store new arrivals behind existing stock so you naturally select the oldest seeds first. This rotation helps you gauge real germination rates over time and avoid surprises when you begin a grow. Additionally, mark your calendar for periodic germination tests on older batches.
Document the date you added each batch to storage and the expected “use by” month—typically 12 to 24 months from storage. Update your log whenever you remove seeds for testing or planting. This continual audit gives you complete control over each seed’s shelf life. Moreover, review your records annually to adjust your rotation strategy based on real-world results.
Inventory Tracking
Maintain a digital spreadsheet or physical log to track exact seed counts. Record incoming and outgoing quantities, including any gifted or sold. This prevents confusion, especially if you trade seeds with friends or fellow growers. Also, note germination test results to refine your storage protocols over time.
Schedule quarterly audits where you verify your log against actual stock. Note any discrepancies and adjust records immediately. If you lose seeds due to accidental damage or pests, update your inventory so you never overestimate your available supply. In addition, back up your digital log in a cloud-based service or external drive for added security.
Long-term vs. Short-term
Immediate Use Plans
For seeds you’ll germinate within six months, opt for a cool pantry or refrigerator door shelf. These locations offer easy access while still keeping conditions relatively stable. Use small airtight vials with a tiny desiccant pack to maintain optimal humidity. Label each vial clearly and avoid handling them more than necessary.
The less you disturb short-term storage, the less chance of moisture spikes or temperature fluctuations. This simple setup works well for anyone planning a grow in the near future. Additionally, schedule a quick germination test three months in to verify that storage conditions remain effective.
Multi-year Storage
When planning for storage beyond a year, invest in a dedicated seed bank cooler or long-term freezer set just above freezing. Temperatures around 2 °C to 4 °C halt metabolic processes without risking ice crystal formation inside seeds. Store vacuum-sealed, opaque bags with desiccant inside an insulated, vibration-free container.
Avoid opening it unless absolutely necessary to preserve temperature and humidity stability. This level of protection preserves genetic diversity and maximizes germination success across multiple seasons. Furthermore, power your seed bank with a reliable UPS system to guard against outages.
Emergency Seed Banks
Create an off-site backup of your most valuable strains to guard against equipment failure, theft, or natural disaster. Use identical sealing and labeling methods as your primary system: vacuum sealing, light-blocking packaging, and desiccants. Store these backups in a cool, dry location far from your main facility.
Share the backup location with a trusted partner who understands storage protocols. Schedule an annual germination test on a small subset to confirm viability. An emergency seed bank ensures you never lose unique genetics no matter what happens at your main facility. Additionally, update your backup every two years to incorporate new or elite strains.
FAQs about storing cannabis seeds
How should I label storage jars?
Use waterproof labels and permanent ink to mark each jar with strain name, harvest date, batch number, and any key traits like autoflower. Place labels on the side for quick checks. Include a date code so you know when you added seeds to storage. A clear, consistent system saves time and prevents mix-ups during grow preparations.
Can seeds survive power outages?
Yes, seeds in vacuum-sealed, insulated containers can withstand brief power failures without harm. Desiccants maintain low humidity while airtight seals block temperature swings. For outages over twelve hours, check the container’s internal humidity and temperature once power returns. If they exceed recommended ranges, test a small sample before a full germination run to ensure viability remains high.
Is cold storage harmful?
No, storing seeds at 4 °C to 8 °C preserves viability by halting metabolic activity without freezing moisture inside seeds. Avoid freezer temperatures below 0 °C, as ice crystals can crack seed coats and damage embryos. Choose a refrigerator or seed bank cooler with minimal temperature fluctuation for safe, long-term preservation. Regularly monitor to ensure settings stay within the ideal range.