Challenges of Aged Seeds
Lower germination rates
When it comes to germinating old cannabis seeds, you can expect germination rates to fall significantly compared to fresh stock. While a new batch may offer 90–95% success, older seeds often drop into the 50–70% range or lower. This means you might plant ten seeds and only see five or six sprouts, or fewer, emerge after two weeks. For home growers, that unpredictability can derail schedules and budgets. By testing a small sample of seeds in advance, you save time, space, and resources before committing large trays to questionable stock.
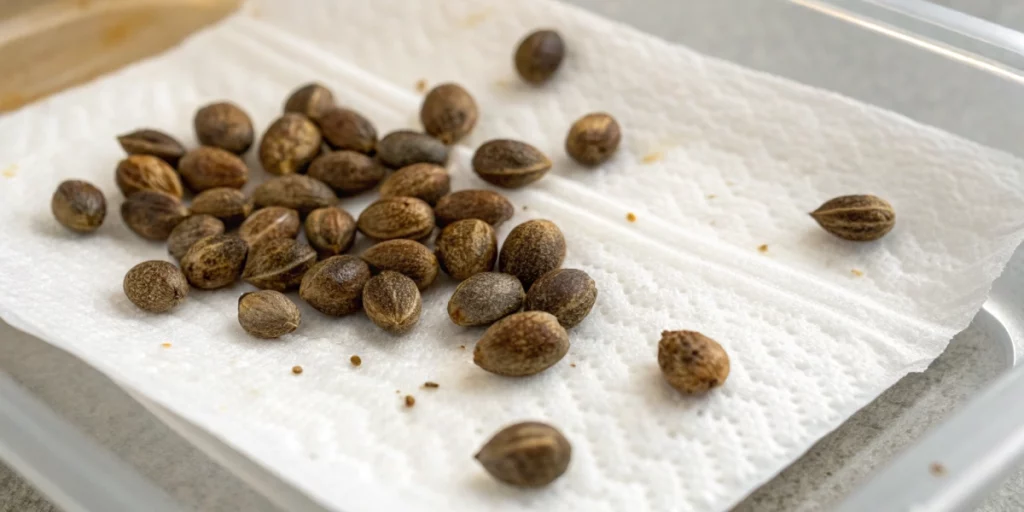
Many growers use a germination box or paper-towel method to gauge viability. Mark each seed’s placement on the towel and record which ones swell, crack, or reveal a tiny taproot. That quick test helps you decide whether to invest in expensive pre-treatments or simply order new genetics. Tracking these results over multiple batches reveals how storage conditions and seed age correlate with performance.
Weakened embryos
Cellular damage builds inside old seeds as natural aging processes take their toll. Free radicals accumulate and break down membranes, weakening the embryo’s vital structures. As a result, even if a seed eventually cracks, the inner tissues may lack the resilience needed to push a healthy radicle into the growing medium. This often results in malformed shoots or seedlings that stall mere millimeters from the surface. Knowing this, you can adjust pre-treatment intensity, neither under-doing nor over-doing scarification, for example, to improve your odds.
Beyond initial sprouting, weakened embryos yield fragile seedlings prone to transplant shock and nutritional imbalances. Those tender plants can wilt at the slightest stress or struggle to uptake water and dissolved nutrients effectively. Early support, like a gentle foliar spray of diluted seaweed extract and stable environmental conditions, gives these delicate sprouts extra insurance as they establish their first true leaves.
Shell hardening
Over time, cannabis seed coats often thicken and lose flexibility, acting as a hard barrier against moisture and oxygen. You may notice that old seeds remain dry and show no signs of swelling, even after prolonged soaking. This hardened shell can prevent the embryo from initiating the germination cascade, leaving you with inert, perfectly intact-looking seeds that never grow. Identifying shell hardness early enables you to employ targeted methods, such as precise scarification or brief acid treatments, before ruling seeds out completely.
Shell hardening not only blocks water but also restricts gas exchange. Under soggy conditions, moisture pools outside while the interior remains dangerously low in oxygen. This imbalance can drown a viable embryo or create anaerobic pockets that encourage bacterial contamination. Choosing the right pre-treatment and monitoring odor and color changes during soaking prevents these pitfalls and protects the seed’s inner life.
Pre-Treatment Methods
Soaking in water or solution
Immersing seeds in water triggers the uptake phase, essential for activating internal enzymes and jump-starting metabolism. For older seeds, soak them 12–24 hours at 20–22 °C, changing the water halfway to reduce bacterial buildup. Some growers add a mild hydrogen peroxide solution (around 3%) to disinfect and release extra oxygen into the mix, or they use a seaweed extract rich in micronutrients to nourish the embryo. After soaking, blot seeds gently and plant immediately to maintain hydration.
Using solutions with beneficial additives improves outcomes for low-vigor seeds. A dilute kelp or humic-acid soak promotes root hair development and speeds early growth. Always rinse seeds thoroughly before planting to remove any residual chemicals that could inhibit fungal-friendly microbes in your soil or substrate. Proper rinsing also prevents overexposure, which can damage sensitive embryonic tissues.
Scarification to thin shells
Scarification involves gently abrading the seed coat to allow moisture and gases through without harming the embryo. Place seeds between two sheets of fine-grit sandpaper, applying light pressure until you see a subtle sheen but no gashes. This controlled thinning accelerates water absorption and can boost germination rates by up to 20% in old, hard-coated seeds. After scarification, rinse seeds to remove debris and soak briefly so the shell stays pliable.
If sandpaper feels too harsh, alternatives include a brief dip in a weak acid solution, such as 5% sulfuric acid for 30 seconds, followed by an immediate, thorough rinse. That method softens the coat chemically while preserving internal structures. Always conduct a small pilot test before applying to your entire batch to determine the safest duration and concentration.
Temperature priming
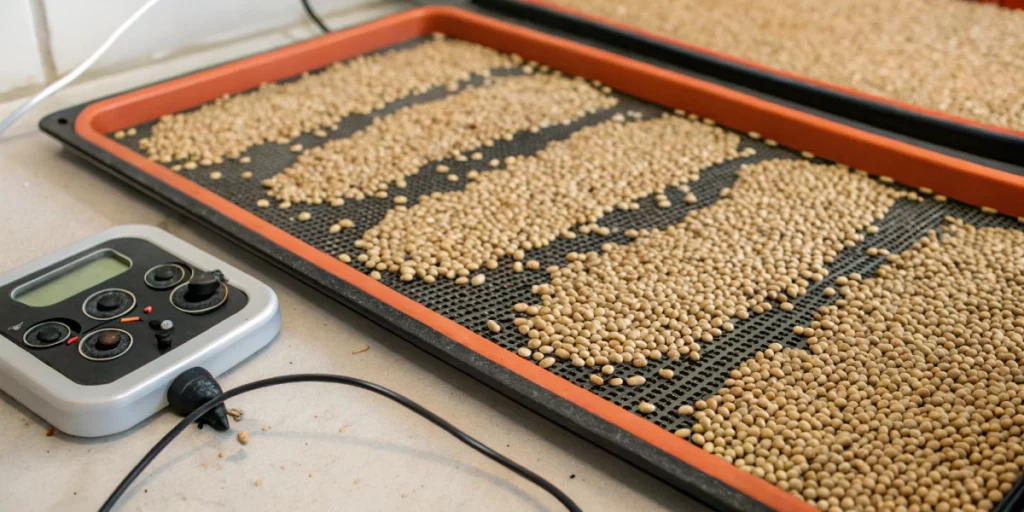
Temperature priming simulates seasonal shifts, signaling seeds that conditions suit germination. Start with a cold phase at 8–10 °C for 24 hours, then shift to warmth around 25 °C for another 24 hours. These alternating cycles awaken dormant embryos and can shorten germination time by several days. Use a programmable thermostatic chamber or alternate between cooled trays and a seedling heat mat to maintain precise control.
During temperature priming, keep seeds on moist paper towels or in damp vermiculite to ensure consistent hydration. Avoid drying out between cycles, which can stress embryos further. When done correctly, primed seeds swell uniformly and crack more predictably, giving you stronger, more synchronized sprouts once planted. This technique is especially useful for growers working with Cannabis Seeds New Mexico, where environmental conditions can vary widely and consistent germination is key.
Ideal Germination Environment
Moisture control
Maintaining balanced moisture is vital for old seeds: too little and they won’t swell; too much and they rot. Aim for a substrate moisture content that feels like a damp sponge, wet but not dripping. Mist trays twice daily with a fine spray to avoid displacing seeds. Use a clear humidity dome or plastic wrap to trap moisture, drilling small vents to allow excess humidity to escape.
Substrate choice also matters. Many growers prefer sterile, fine-grained media like coconut coir or peat-based mixes, which hold water evenly without compaction. Avoid heavy soils that can suffocate emerging roots or harbor pathogens. By fine-tuning moisture delivery, you create a stable microclimate where aged seeds can absorb water steadily without encountering anaerobic stress.
Warmth consistency
Seeds thrive in a narrow temperature window of 20–25 °C. Maintaining that range keeps enzymes active and cellular processes humming. Fluctuations beyond ±2 °C can stall growth or cause irregular sprouting. Position trays away from drafts, radiators, or cooler windowsills. If your room temperature varies, invest in a low-wattage seedling heat mat paired with a thermostat to ensure steady warmth.
Regularly monitor substrate temperature with a digital probe inserted near the seeds. Surface readings can mislead, so check at root-zone depth. Consistent warmth not only speeds radicle emergence but also strengthens the seedling’s initial root hairs, leading to more vigorous young plants ready for the next growth stage.
Darkness vs. light
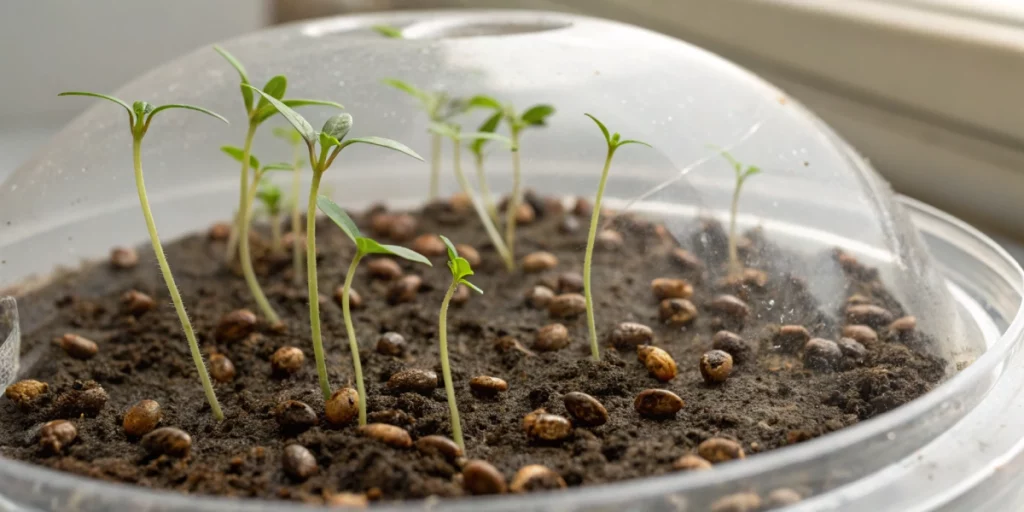
Cannabis seeds germinate best in darkness, mirroring their natural state underground. Expose them to zero light until the taproot reaches about 1–2 cm. Light exposure too early can trigger abnormal stretching as the seedling seeks darkness, resulting in leggy, weak stems. Wrap trays in opaque material or tuck them inside a dark drawer until you see tiny white tips.
Once roots emerge, introduce low-intensity light for 12–16 hours per day. Gradually transition seedlings to your primary grow lights, starting at a greater distance to prevent bleaching. This gentle introduction builds chlorophyll production and encourages compact, sturdy stems capable of supporting vigorous foliage ahead.
Monitoring and Supporting Growth
Transplant timing
Timing your transplant is critical: move sprouts too soon and you risk breaking delicate roots; wait too long and roots circle the pot, leading to stress. Target the moment when seedlings display their first pair of true leaves, typically 7–10 days post-germination. At that stage, roots form a light network and resist gentle lifting from the paper towel or plug tray.
Use small starter pots (3–4 cm diameter) filled with a light, airy mix. Handle seedlings by their crown, not their cotyledons or leaves, to avoid damage. Plant at the same depth as before, pressing substrate gently around the stem. This encourages rapid root-to-soil contact and prevents air pockets that can cause desiccation.
Early nutrient support
After true leaves appear, feed seedlings a mild nutrient solution—around half-strength NPK 2-1-2, to sustain early growth. Overfeeding at this stage can cause tip burn or nutrient lockout, so err on the side of caution. Flush pots with plain water every two weeks to remove salts and refresh substrate microbiota.
Supplementing with a foliar spray of kelp or humic acid can boost root development and stress tolerance. Aim for applications during late afternoon or early evening to allow leaves time to dry and absorb nutrients overnight. This strategic feeding builds robust seedlings primed for rapid vegetative growth.
Disease prevention
Damping-off fungi and bacterial pathogens prey on weak seedlings in humid conditions. Maintain ambient humidity around 60% and provide gentle airflow with a small oscillating fan. That circulation strengthens stems and deters fungal spores from settling on leaves or soil. Remove humidity domes once sprouts show roots to reduce wetness around the stem base.
Sanitize trays, trays’ domes, and any tools between batches using a 10% bleach solution or food-grade hydrogen peroxide. At the first sign of slimy stems or fuzzy mold, isolate affected sprouts immediately. Quick removal stops pathogens from spreading and preserves the health of remaining seedlings.
When to Accept Seed Loss
Maximum waiting period
Give seeds a full 14 days under optimal conditions before writing them off. This window covers even the slowest old seeds while preventing endless waiting. Mark your calendar on day one, then reassess on day ten and day fourteen. If nothing has sprouted by the end of two weeks, it’s time to move on to fresher stock.
Keeping detailed logs of each batch, dates planted, pre-treatments used, environmental conditions, helps refine your process over time. That data tells you which aging thresholds and storage methods worked and which didn’t. It also stops growers from chasing unproductive seeds indefinitely, saving space for viable candidates.
Cost-benefit analysis
Reviving decades-old seed may satisfy curiosity but often proves less cost-effective than ordering fresh genetics. Factor in the price of seeds, grow media, electricity, and labor against expected sprout counts. If aged seeds offer under 50% germination potential, you’d need twice as many just to match a new packet’s yield.
Consider opportunity cost: time spent coaxing stubborn seeds could go toward planting proven strains and refining your grow room setup. When you run the numbers, cost per viable seedling versus market price of fresh seeds, you may find it more economical to invest in new stock rather than chasing marginal gains from aging batches.
Sourcing replacements
Reputable seed banks list harvest and packaging dates and often guarantee germination rates. Choose suppliers that ship in moisture-proof, nitrogen-flushed packages. Look for customer reviews about strain authenticity and support policies in case of low viability. Many banks will replace or credit failed seeds within a specified timeframe.
Local growers’ forums, swap meets, or community exchanges can also provide fresh genetics without shipping costs. Always verify strain stability and storage history before trading. Even small sample swaps help you retire old seeds gracefully and keep your garden stocked with vigorous, true-to-type plants.
FAQs about germinating old cannabis seeds
How long can old seeds remain viable?
Old cannabis seeds sometimes stay viable up to five years when stored in cool, dark, and low-humidity environments. Beyond that, germination rates tend to plummet below 50%. Vacuum-sealed containers with desiccant packs maintain moisture levels under 8%, preserving energy reserves inside the seed. Always conduct a small germination test if seeds haven’t been used for over two years to avoid surprises in your grow cycle.
Does freezer storage help?
Freezer storage dramatically slows seed metabolism, extending viability by halting cellular degradation. To prevent freezer burn, place seeds in vacuum-sealed bags alongside silica gel packets. When you’re ready to plant, thaw bags gradually at room temperature before opening, then soak seeds in clean water to rehydrate evenly. This approach outperforms simple refrigerator storage and gives aged seeds their best chance to revive successfully.
When should I stop trying to germinate?
After two full germination attempts spanning fourteen days each, roughly one month total, you should stop trying with a stubborn batch. Continuing past that point ties up trays, substrate, and light resources that could serve fresh seeds. Recognizing when to cut losses streamlines your workflow and frees space for new genetics with higher success rates.